How To Install An Ice Maker: A Simple Step by Step Guide
Is installing an ice maker something you can do? I have outlined very detailed and easy steps to guide you.
In my experience, most newly purchased refrigerators are not pre-installed with an ice maker. If yours is without one, don’t sweat it.
I’ll show you how to get the perfect under-the-counter model for your refrigerator. And how to install it seamlessly, just like I’ve done with several others.
Can you install an ice maker in your refrigerator?
Before we get into how to install an ice maker in your fridge, it is important to note that not all refrigerators are designed to be fitted with an ice maker. In this case, an under-the-counter ice maker will do the job for you instead.
Check the appliance brochure of the refrigerator to be sure before you go ahead to purchase an ice maker kit.
Getting a suitable ice maker for your refrigerator
Ice maker kits come in different sizes and models for different refrigerators. An ice maker not meant for your refrigerator will not fit properly into your freezer and will be very difficult to install. So, ensure you shop for an ice maker kit that will perfectly fit your refrigerator.
The easiest way to know a compatible ice maker when shopping is by using the refrigerator’s model number. You can find it on the refrigerator’s door, wall, ceiling, or appliance brochure. Use the model number to find a suitable one on manufacturer websites or home appliance sellers like Kismile company.
An ice maker installation kit usually includes the following components:
- Ice maker unit
- Water supply tube
- Inlet water valve
- Hardware (screws, levelling bracket, clamps, etc.)
The ice maker needs an external water source to work. You will also need to get an ice maker water supply line long enough to go from the cold water source to the refrigerator.
Easy Steps for Installing an Ice Maker
You will need the following tools for installation.
- Screwdrivers (slot and Phillips)
- Putty knife
- Needle nose pliers
- Work gloves.
Step 1: Prep the refrigerator for installation
Cut the refrigerator power supply by unplugging it from the wall.
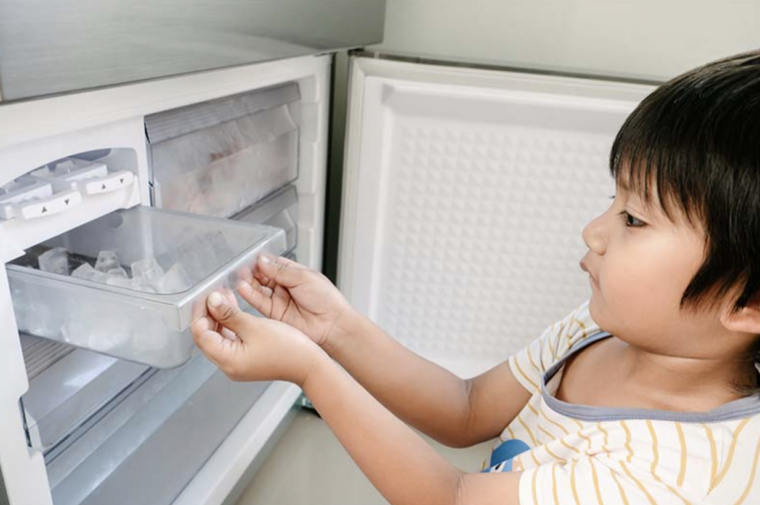
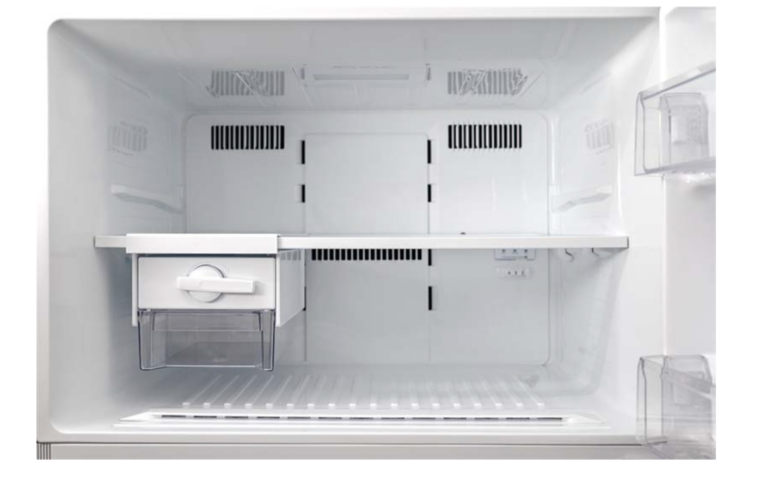
Next, remove the shelf in the freezer. Start by removing the plastic spacer attached and then pull it out.
Inside the freezer compartment, you will find two plastic plugs and a plastic cover on the side and back wall, respectively.
Pry out the two plastic plugs using either the putty knife or the plier to reveal the mounting holes for the screws.
Stick your flathead screwdriver into the slot at the top of the plastic cover making sure it is above the tab. Push the tab all the way down by tilting the screwdriver upwards. This will release the grip on the plastic cover, which will come right off, revealing the fill tube opening and wire harness connector.
Locate the rare compartment below the refrigerator. Unscrew the compartment cover and pull it off.
On the compartment cover, punch out the cutout through which the water supply line will pass.
Still at the back of the refrigerator, locate the sticker label at the top right corner covering the water line opening. Use the putty knife to cut an x on it. You can follow the instructions on the sticker on how to cut it open.
After opening the sticker, pull the insulating foam out of the water line opening to expose the inlet tube.
Insert the plastic water supply tube into the inlet tube and push it in.
Cover the water inlet tube threads with the tube seal and push it in place.
Connect the plastic water tubing (the one that will connect the ice maker to the water valve) with the water inlet tube. Tighten the compression nut. You can use a wrench but don’t over-tighten it.
Step 2: Mount the Ice Maker
Screw in the adjustable levelling bracket underneath the ice maker with the mounting screws. Don’t tighten the screws yet so you can make levelling adjustments later.
Screw the ice maker mountain screws into the mounting screws on the freezer side wall. Leave enough space for the ice maker bracket to hang on the screws.
Plug the ice maker wire harness into the port on the freezer’s back wall. Cover the harness with the plastic wire harness cover into the wall.
Now, hang the ice maker over the mounting screws and tighten the screws. Ensure the water fill tube, coming through the back wall of the freezer, sits inside the ice maker fill cup.
Adjust the levelling bracket so that the space between the ice maker and the freezer wall is equal on all sides. Tighten it in place.
Reinstall the freezer shelf. Place it in the lower position to have enough space for the ice bucket.
Set the ice bucket onto the shelf directly under the Ice maker.
Step 3: Connect the water supply
Insert the ice maker water supply line (the plastic tubing earlier connected to the inlet tube)
into the water valve outlet fitting.
Connect the water valve to the wire harness at the rare bottom compartment.
Using screws, mount the water valve to the frame of the refrigerator.
Clean and thoroughly dry an area on the back of the fridge. Stick the supply clamps to the surface and hold the plastic water tubing in place.
Screw the rear compartment cover back in place. The water valve should stick out through the cutout made on it.
On the upper part of the water valve, remove the water cap from the fitting for the water supply line. Attach your water supply line (the quarter-inch compression hose) tightly to the supply line fitting. Link the other end to any external water outlet close by.
Check for possible leaks by opening the water supply cut-off valve. If there are any, tighten them accordingly.
Now plug the refrigerator back into power, and your ice maker is ready for use.
Conclusion
Plumbing is essential for the ice maker to work as water is needed to make the ice. If you don’t have an easy water supply outlet to connect to, you will need a professional to do it for you.