Simple Kids Origami Patterns With A Step-By-Step Guide
Children enjoy and learn from folding paper. Your child would benefit much from this kind of activity, a great way to learn while entertaining oneself. Depending on how old they are, your children might need your help to create some of these origami designs. Try all of these simple origami patterns with the given instructions.
Traditional Origami Boat
This traditional origami boat floats smoothly in the water. This origami paper toy is perfect for kids. You may make a simple traditional origami boat by following these directions.
- Begin by folding a single sheet of paper in half.
- Next, take the folded corner, move it inward an inch from the other folded edge, then repeat with the other corner.
- Fold the extra edges to the other side over the folded corners.
- Make a cone out of the center of the folded-out paper by pushing your fingers into it to give your boat more volume. Fold up the edges around it, and done!
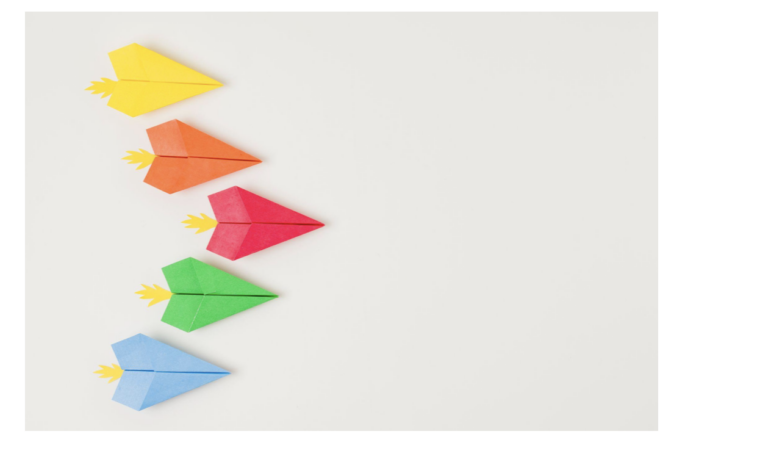
Paper Airplane
Paper airplane design creation is a quick and simple way to engage in creative fun. A4 paper size is the ideal size of paper to use. Start recreating this simple origami design through these directions.
- First, fold the paper in half lengthwise and then place the paper on a flat surface like a desk and crease the fold with the tip of your finger.
- Down-flap the top two corners. Take your paper’s top corners and fold them inward so they will all meet at the middle crease. Two triangle flaps will be placed on top of the rectangular portion of the paper.
- Fold the top corner toward the center crease. In the same procedure, fold it again and fold each triangle’s base inward at the outside points. Fold with the crease inward.
- Fold the paper in half mountain-style. It is simple to fold back into a mountain fold.
- Fold the wings down. Put the plane where the straight part is at the bottom position. To connect with the plane’s base, fold the wings downward.
- Once more, fold the wings down. Your plane should have a flat bottom and a flat edge starting approximately halfway back at the top. Fold the paper down so the edges are straight.
- Spread the wings out. Raise the top layer of folds to fan out the wings. You will have two large, flat wings on top and several smaller wings on the bottom.
- Now, flick your wrist to test your plane.
Drinking Cup
Children can play at home with a paper toy called an origami drinking cup. They can play with it in addition to their other toys with a household theme. Here is a step-by-step user guide for newbies.
- Using the full sheet of paper, fold the bottom point of the paper up to the top point.
- Align the bottom edge with the top right edge by bringing that edge down diagonally. Only the left section has to have this crease.
- The previous phase unfolded. Fold the bottom right point diagonally up to meet the top of the crease you made in the previous action.
- Over the front flap, fold one layer from the top point downward.
- You can fold this front flap into the pocket below for a clean appearance.
- As you can see, it hides the flap inside the pocket. The other side should be on the paper. After that, add a diagonal fold from the top left point to the bottom right point.
- Then, fold the top flap over and down.
- Optionally, you could also tuck that flap into the pocket underneath.
Basic Envelope
Discover how to make a functional origami envelope letter fold. Creating a note and folding it into this simple origami envelope takes just a minute. Take note of these instructions.
- To fold the paper in half, start by bringing the bottom edge up toward the top.
- Unfold the previous step. Along with the horizontal crease you made earlier, fold the top right corner diagonally down to the left.
- Align the bottom-left corner diagonally up with the horizontal center crease.
- In order to line with the right edge of the lower triangle flap, fold the bottom right edge to the left.
- Connect the upper triangular flap’s left edge with the top left edge by bringing them together.
- Reverse the paper. Fold the top’s right side down and into the bottom. Insert the appropriate portion inside the bottom flap.
- Fold the left portion all the way up. Insert the left flap into the tiny triangular flap, and you are finished with the basic envelope!
Conclusion
Kids can learn a variety of easy origami patterns with your help. We carefully selected these four origami patterns for you to try with your kids, to enhance their skills and have fun while doing these patterns!