DIY $2 Snow Globe (All Dollar Tree Items!)
If you’re looking for a fun, budget-friendly holiday craft, this little DIY Snow Globe is perfect. All my big kids made their own, and I helped the littles and honestly, it was such a sweet, easy project for everyone. The best part? Each snow globe cost around $2 to make using items from Dollar Tree!
These turn out adorable, they shake beautifully, and they look like something you’d buy in a gift shop but for just a couple of dollars.
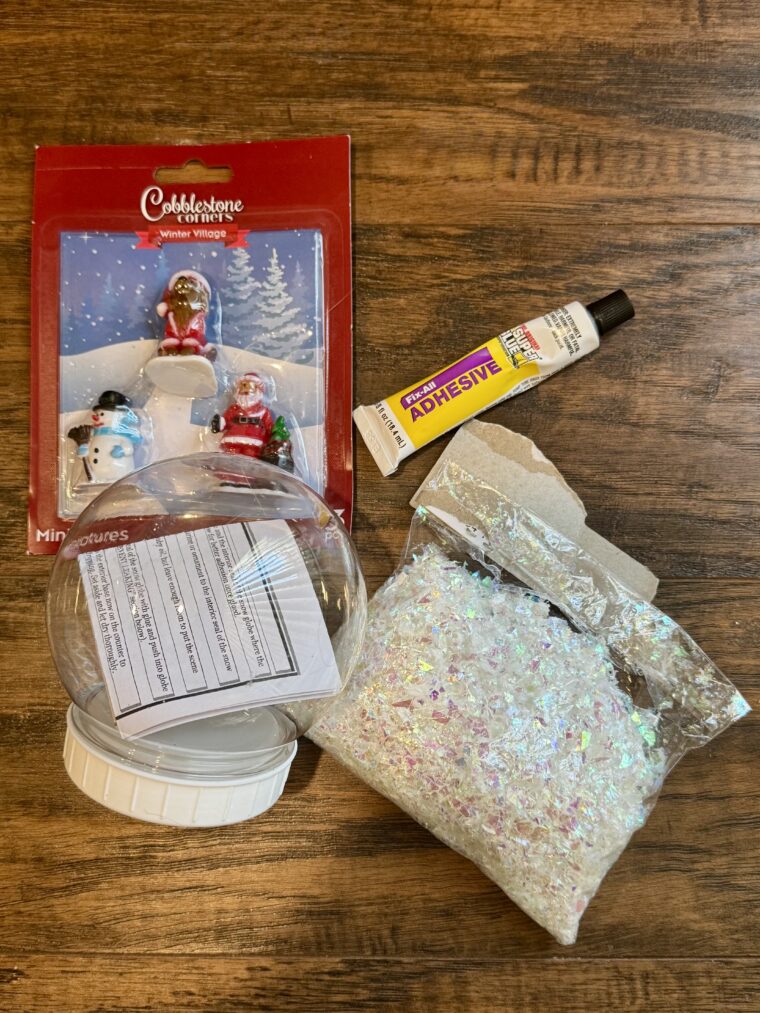
What You Need (All Found at Dollar Tree):
-
One plastic craft globe (the kind that twists open at the bottom)
-
A pack of Cobblestone Corners miniatures — Santa, snowmen, Christmas trees, etc.
-
A small bag of fake snow / iridescent flakes
-
Adhesive or strong glue
- Water
How to Make Your $2 Snow Globe
Step 1: Open the Craft Globe
Twist the bottom off your plastic globe. Set the top aside.
Step 2: Choose Your Mini Figurine
Pick your favorite little character from the Cobblestone Corners pack.
We used Christmas trees, Santa, a snowman — they’re all cute and perfectly sized.
Step 3: Glue the Figurine to the Base
Use a dab of adhesive and press the figurine firmly onto the globe base.
Let it set for a few minutes so it doesn’t wiggle.
(This was the part where the older kids were totally independent, and I helped the little ones hold theirs in place.)
Step 4: Add the Snow
Sprinkle a small amount of the iridescent snowflakes into the globe half.
A little goes a long way — too much and your scene will disappear in a blizzard!
Step 5: Reattach the Globe Top
Once the glue is dry, line up the top of the globe and twist it back onto the base.
Make sure it’s snug so no snow escapes.
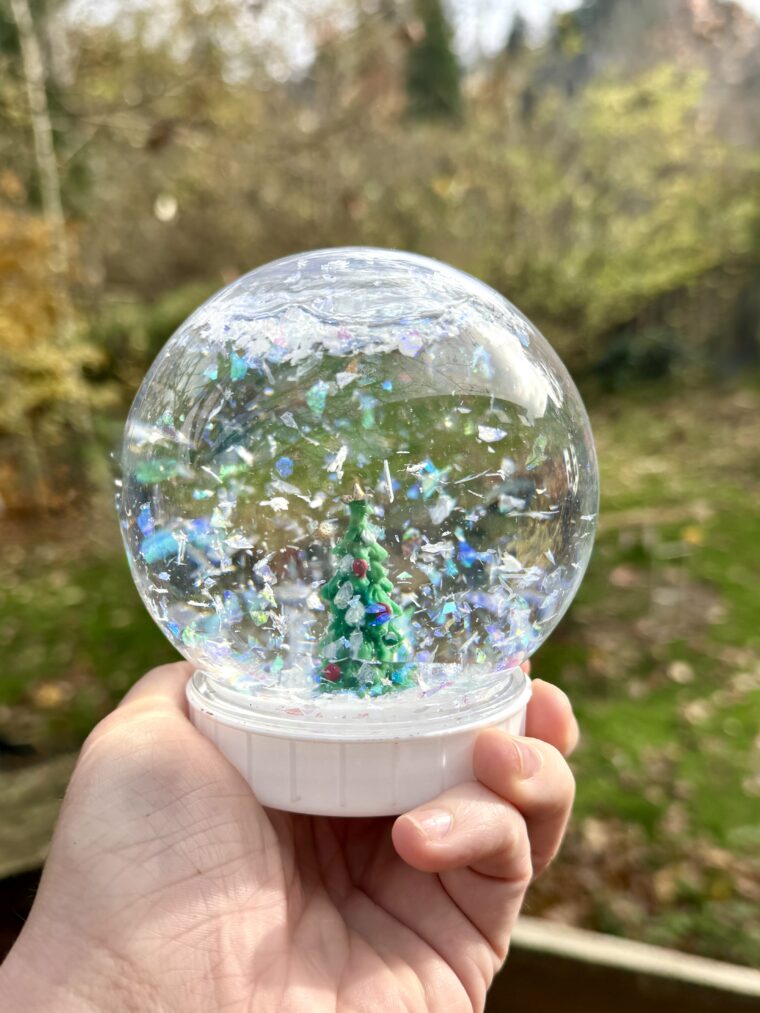
Step 6: Shake and Enjoy!
That’s it! Give it a gentle shake and watch the sparkly snow swirl around your tiny winter scene.
Tips
-
If you prefer the look of floating snow, you can add water, but the Dollar Tree globes look great dry (and no leaking worries around little hands).
-
These make perfect classroom crafts, neighbor gifts, or weekend holiday activities.