DIY Tutorial – Elsa Frozen Dress
This post is written by Jessica ( one of my good friends who is fabulous at sewing ) – she has agreed to making some exclusive tutorials for Budget Savvy Diva. I am SO excited – This is the first one 🙂
I absolutely love Frozen, but there aren’t really any Frozen costumes available for children under 2 yet! Not only that, but store-bought costumes can be pretty pricey. Being a huge Disney fan myself, and having an adorable seven-month old I want to always dress up, I have been making several Disney-inspired dresses for her.

Even though I love sewing, I like to keep it basic! Which means pattern-free! This makes my dresses more cost effective to make, and in my opinion, quicker to make–very important with a busy schedule and a little one! This dress with the following tutorial took a total of $7.26 and 2 hours!
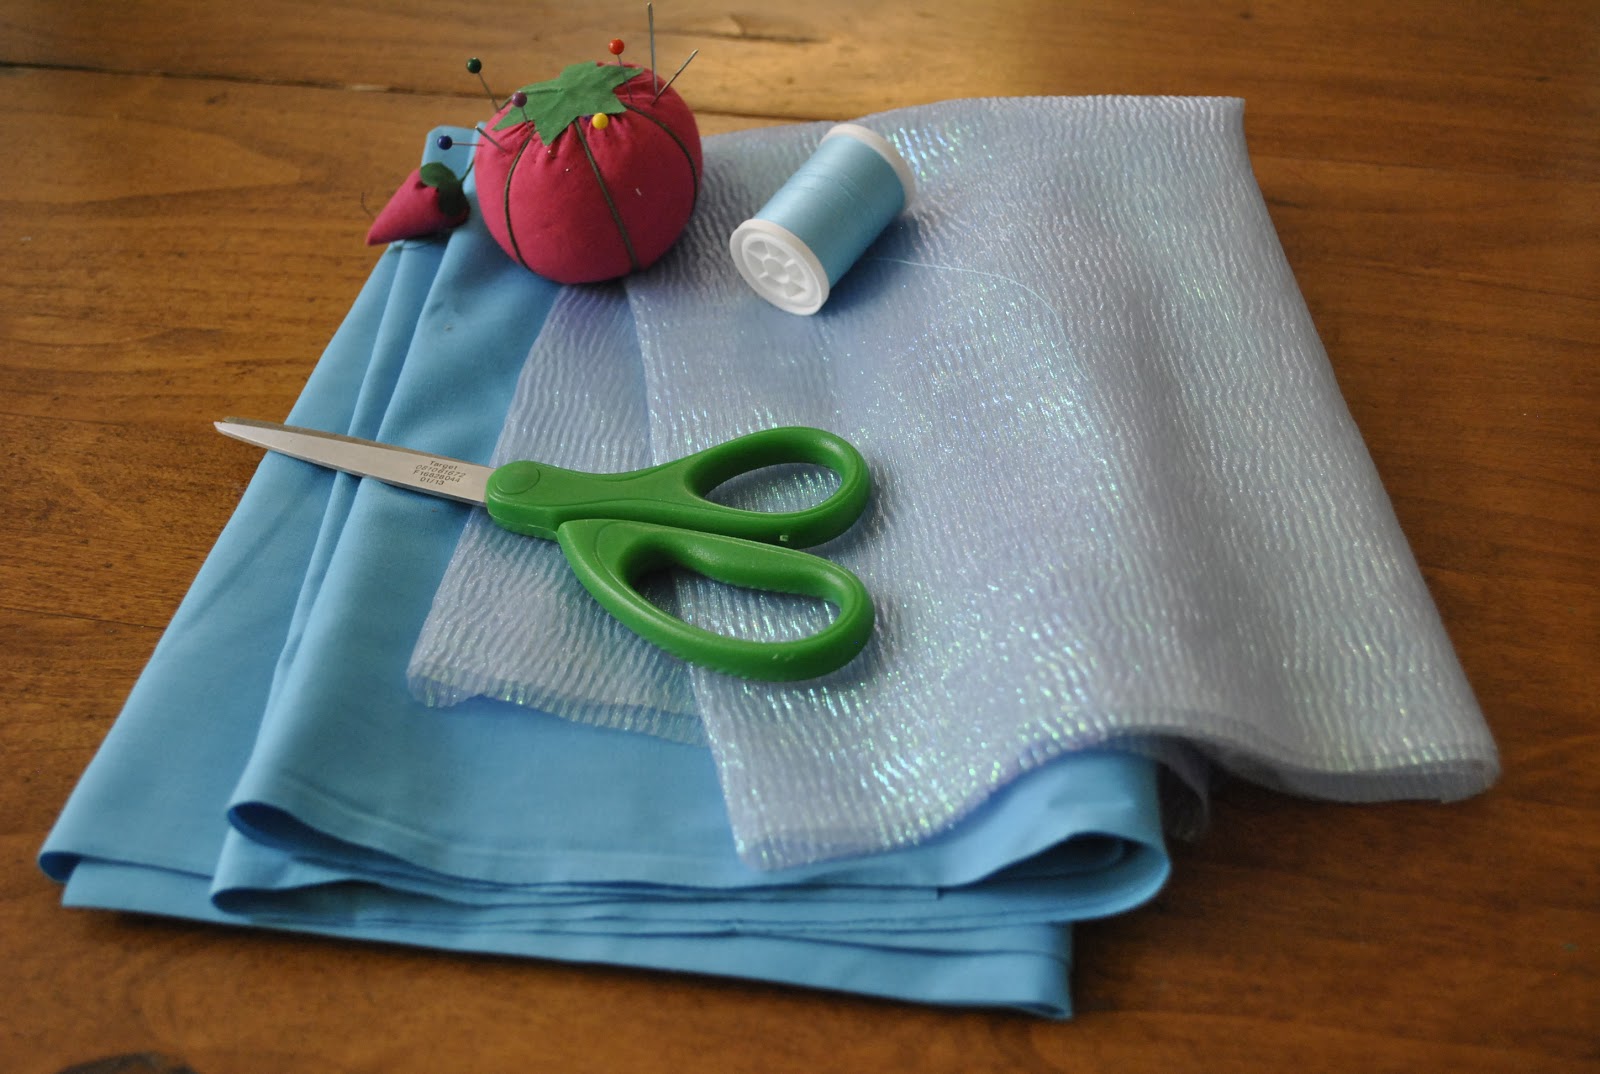
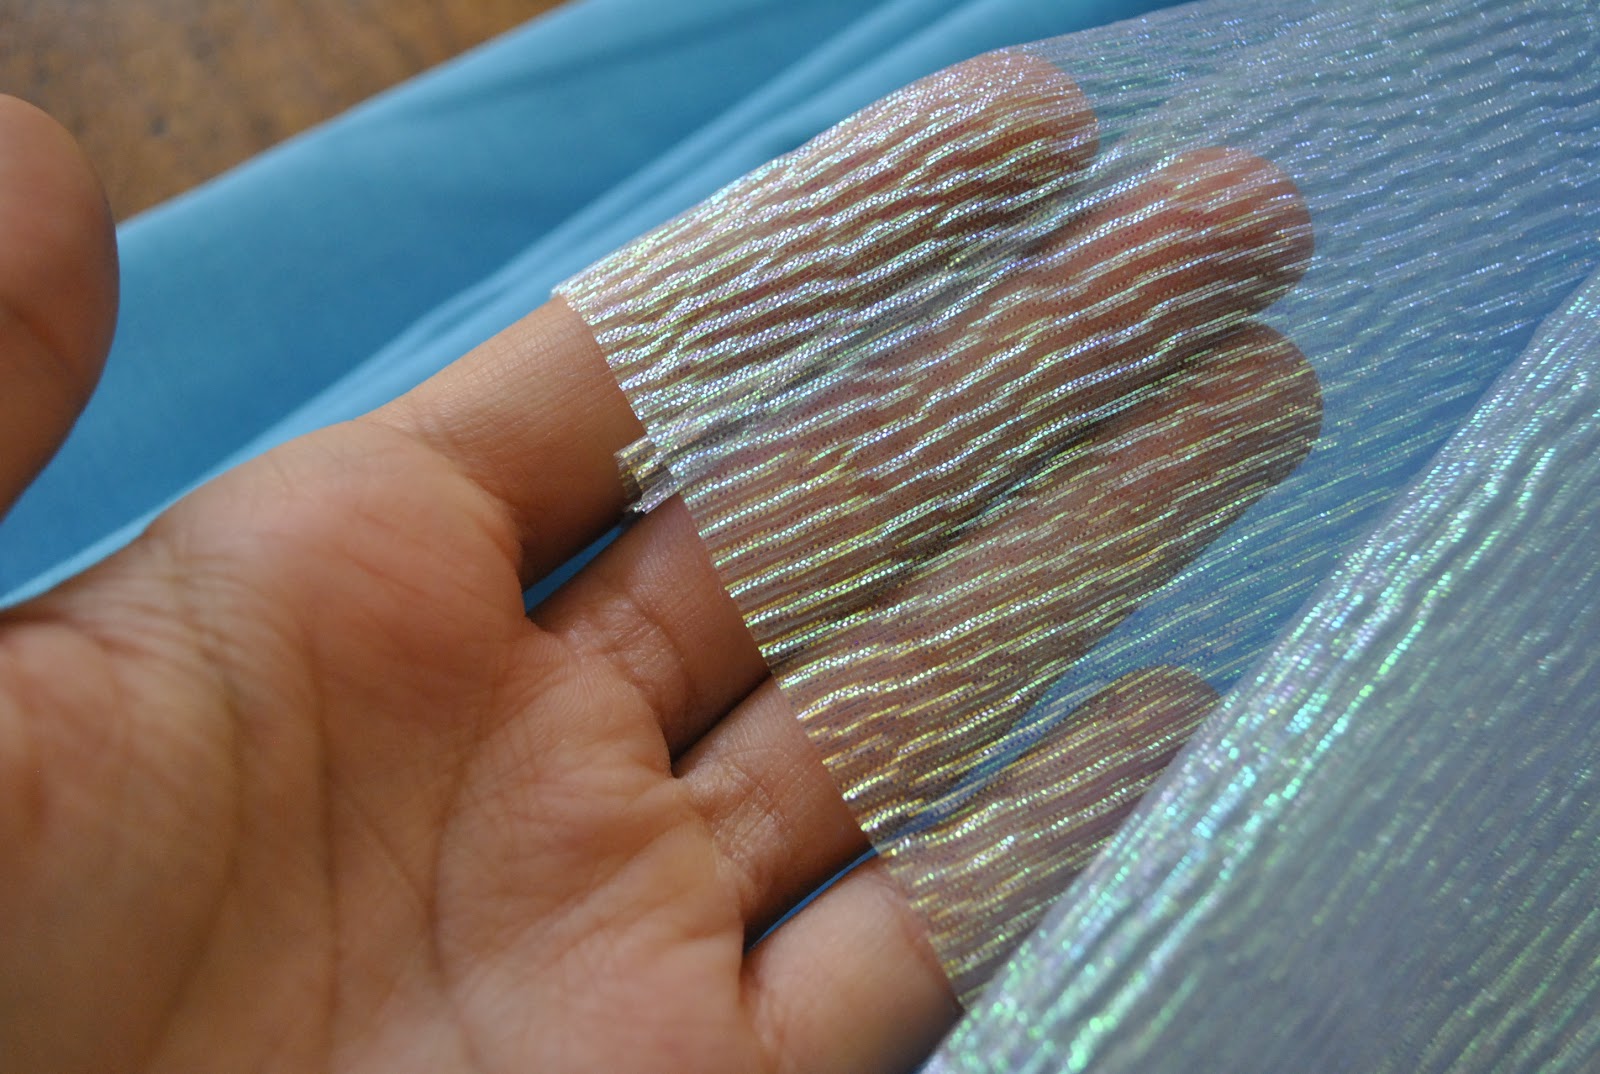
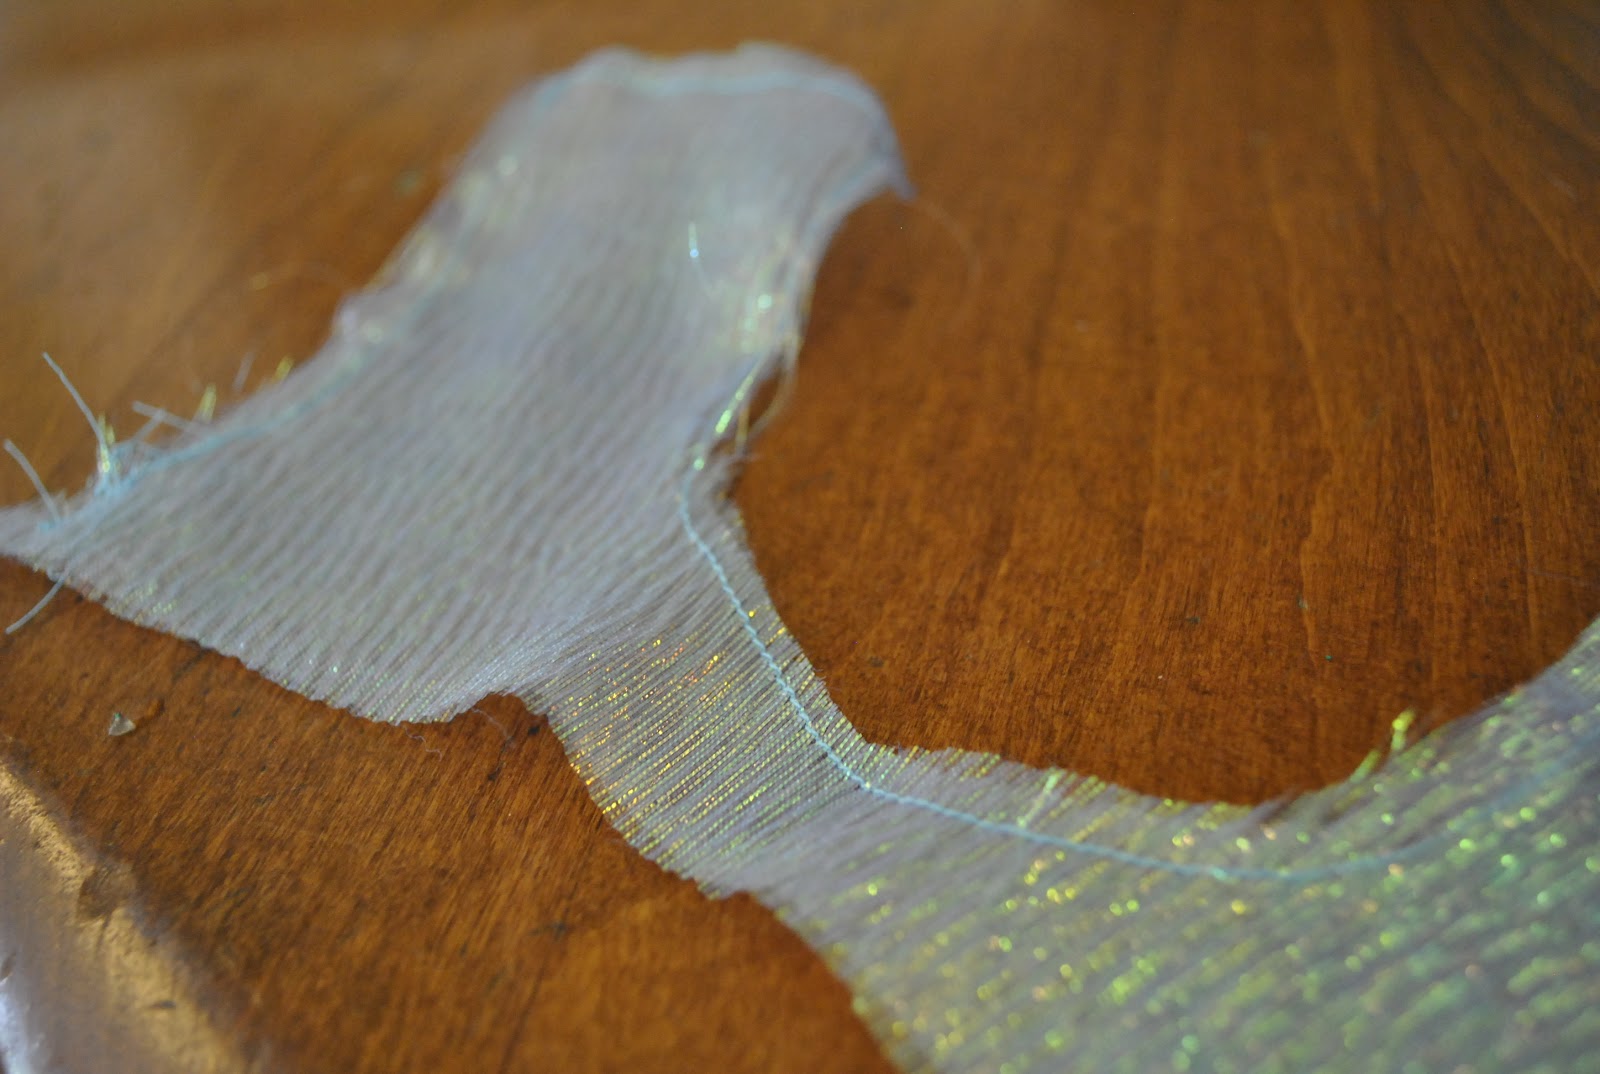
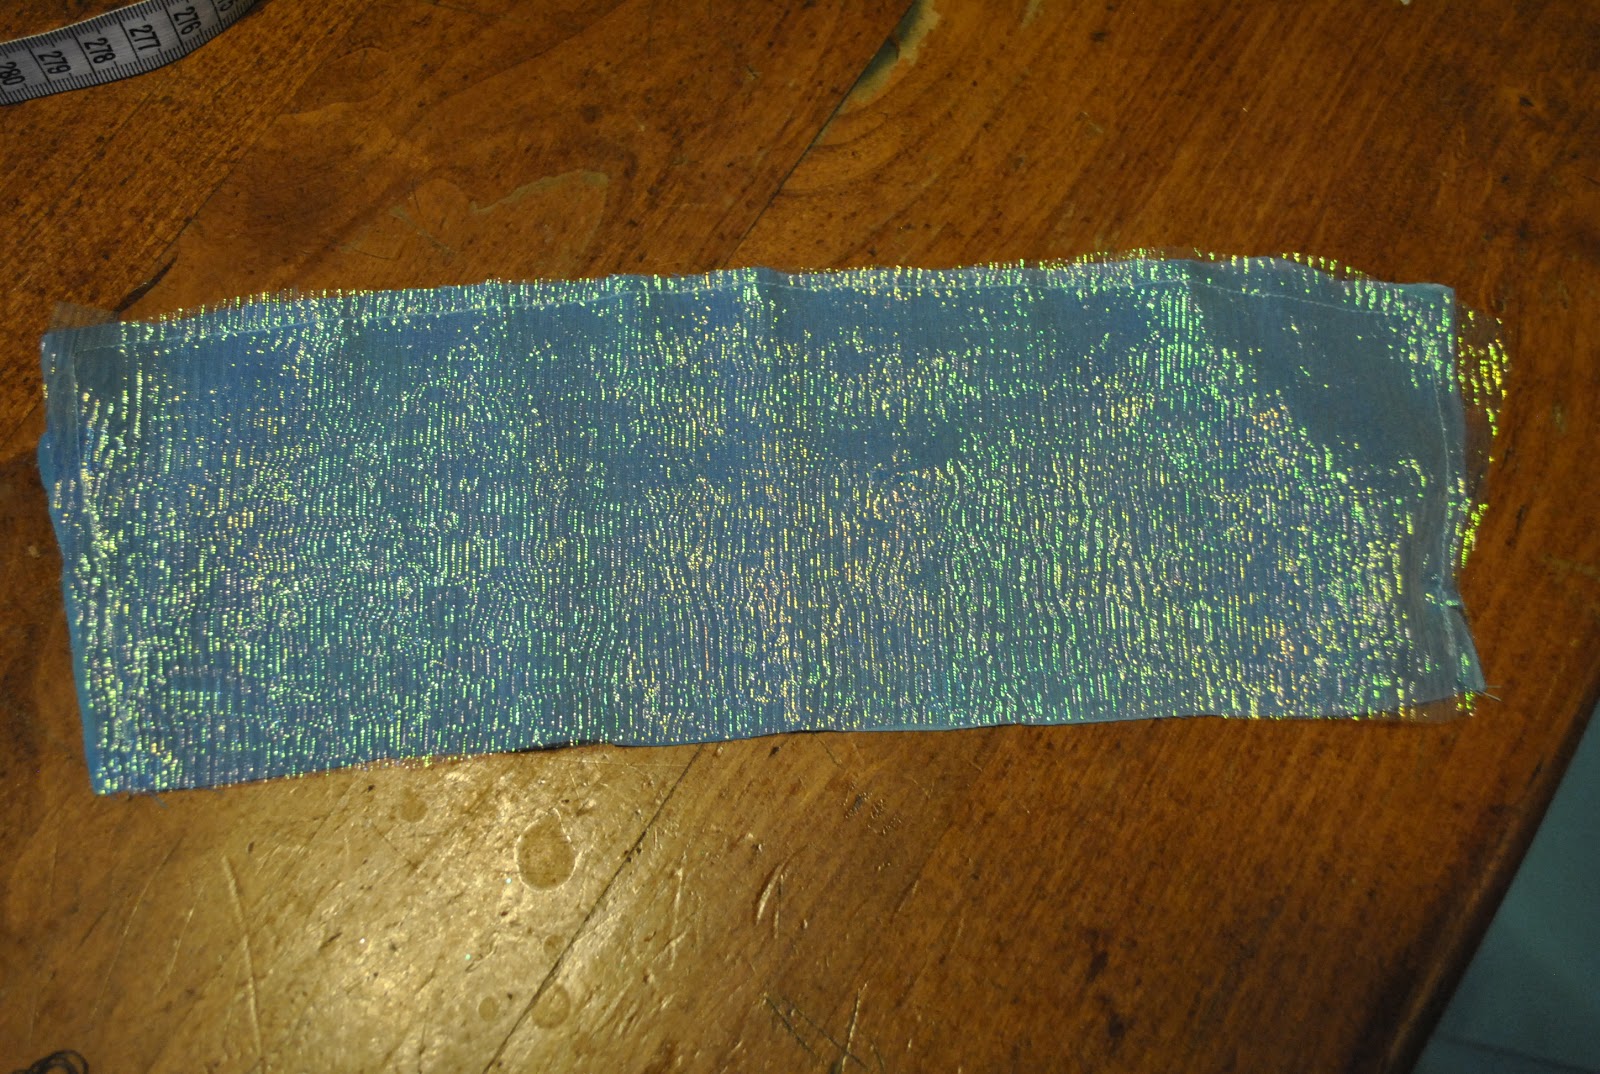
All you need are two different color fabrics, light blue thread, pins, and fabric scissors. And a basic sewing machine, of course! My daughter is wearing 6 month sizes, and for her I bought 1 yard of light blue cotton fabric and ½ yard of sheer, sparkly blue fabric for the bodice, sleeves, and cape. You will need to make sure the fabric you choose is sheer, and sturdy–no stretch material, as that is more difficult to sew with on a basic sewing machine. Below is a close up of the sheer fabric I selected:
I got my fabrics at Hobby Lobby, and used a 40% off one-item coupon (always available on retailmenot.com). For my fabrics and thread, it was $7.26 total.
If your child is 0-6 months, I would recommend the 1 yard of blue fabric and ½ yard of sheer, for 6 months to one year I would get 1 yard of each fabric.
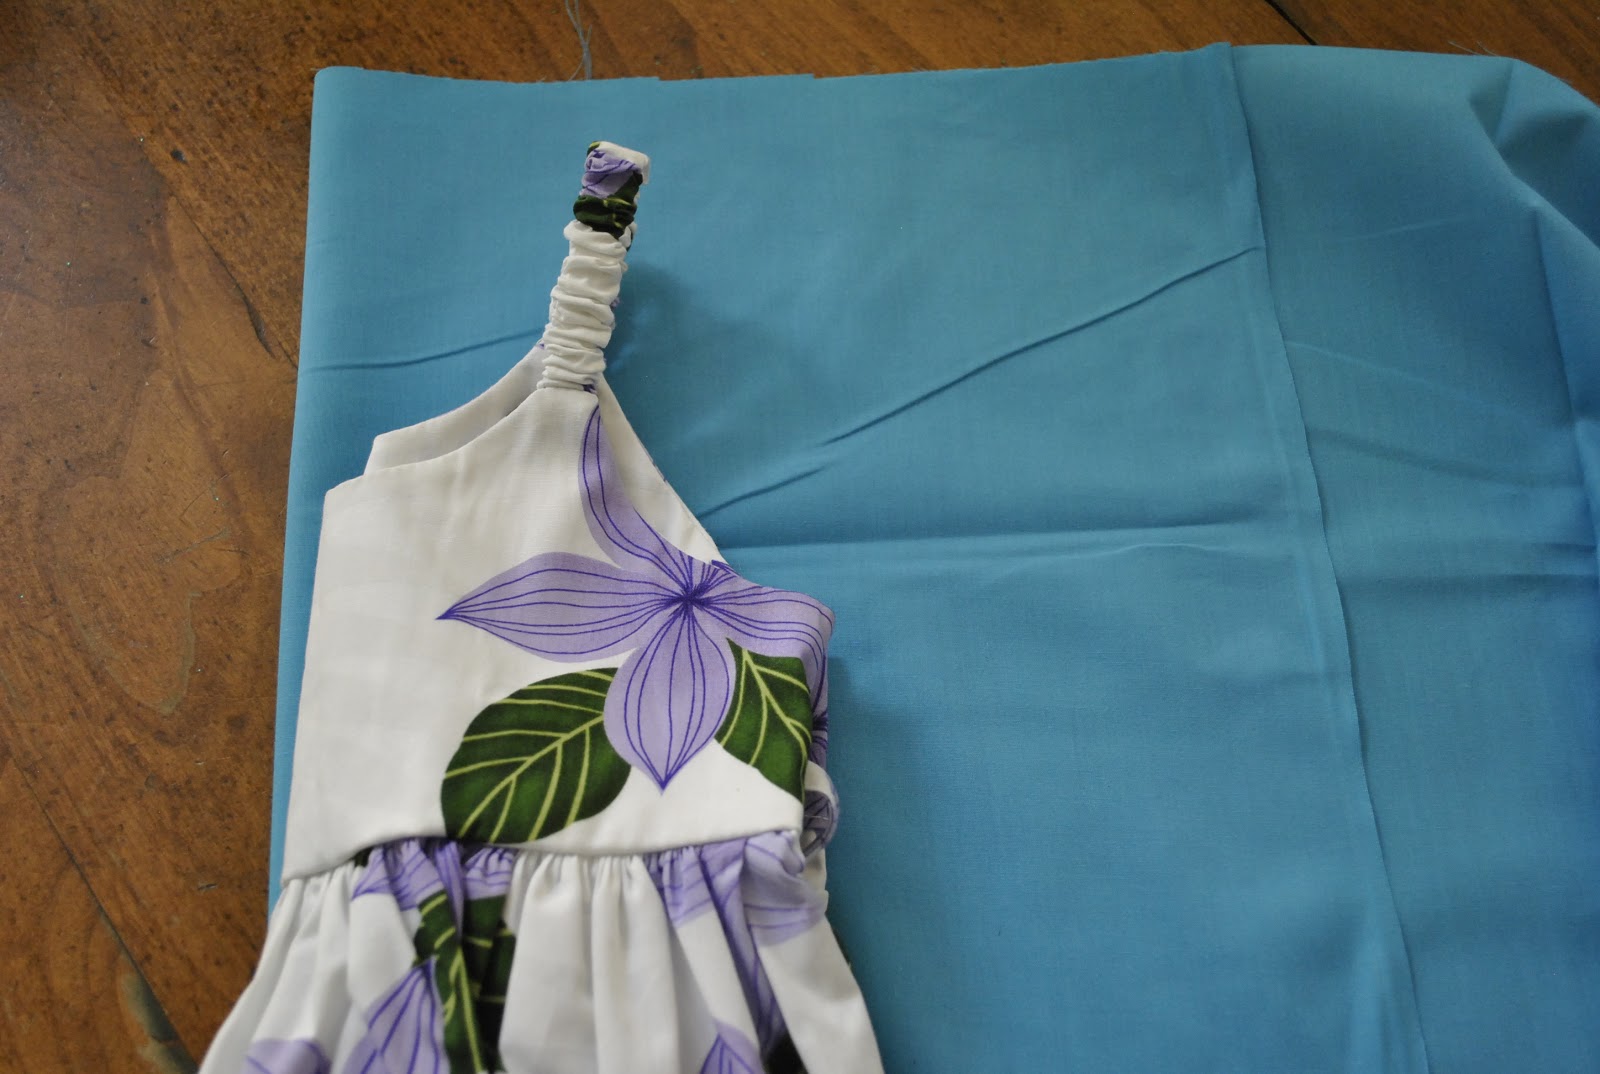
First, fold over your blue cotton fabric. Get a dress that currently fits your child, or is the size that you want the dress to be for when you plan on them wearing it. Fold the dress in half and place it over the folded fabric.
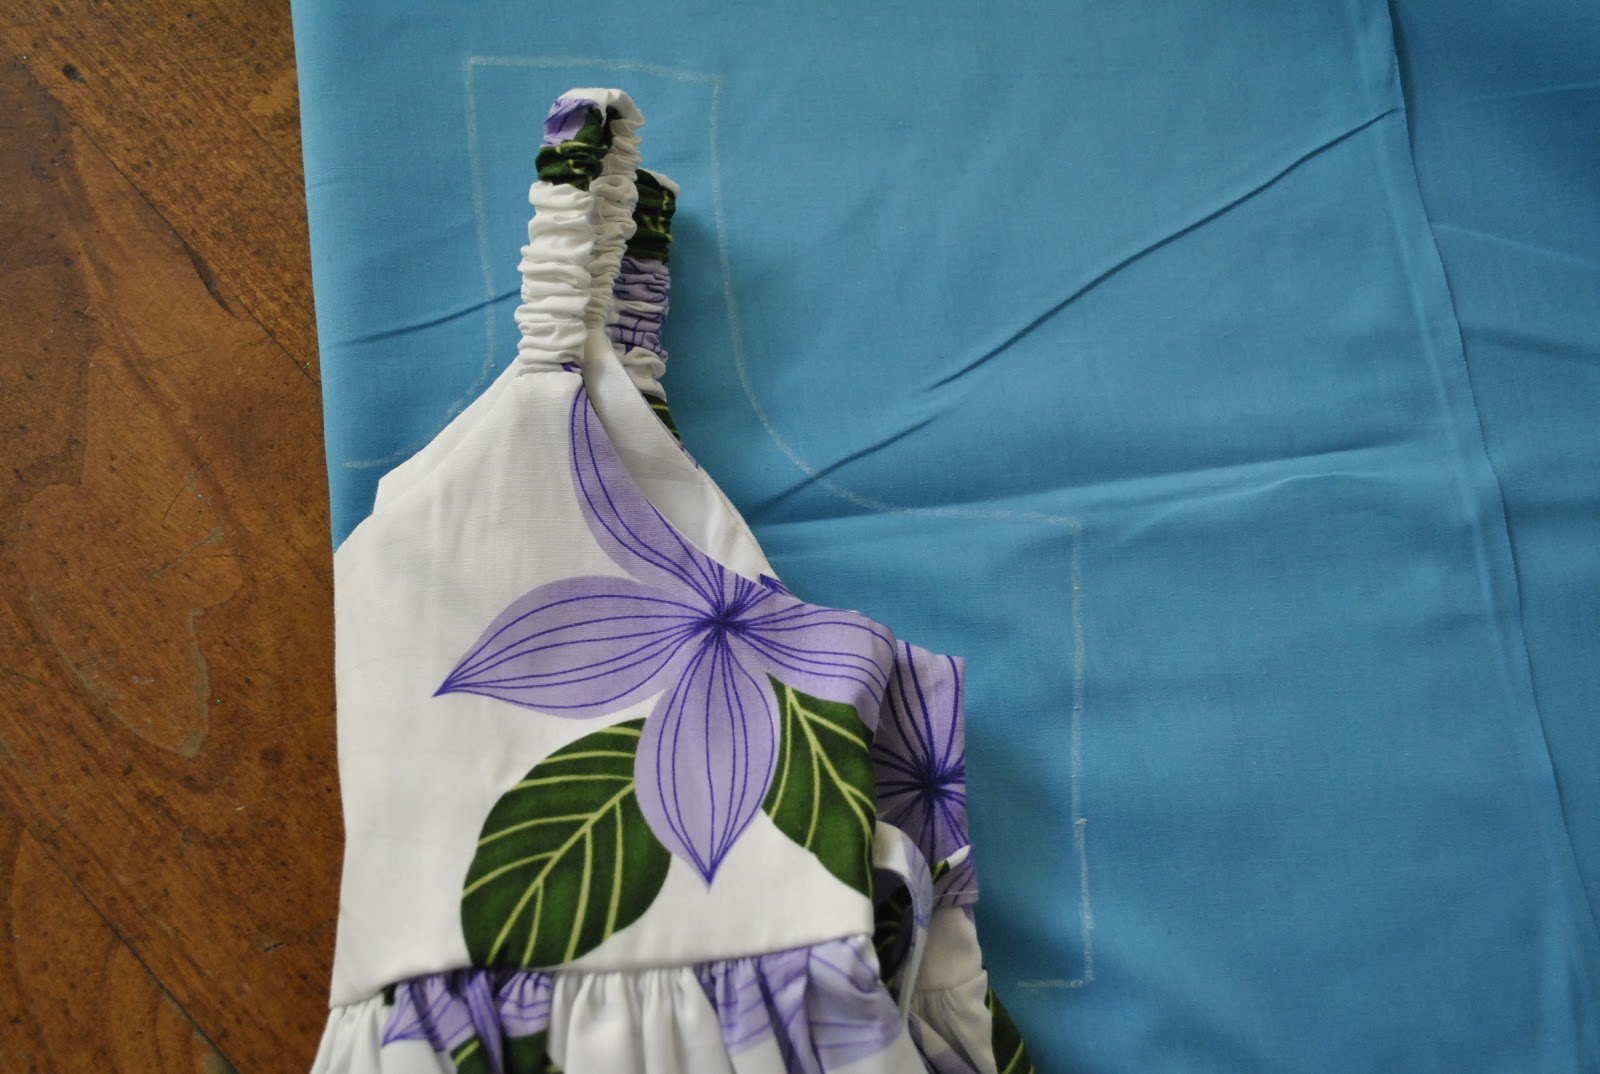
Next, draw an outline of the top of the dress, from the color to the bodice, as pictured above. I personally think white crayon is the best in marking fabric. Make sure you outline the dress about an inch wider than the actual outfit you’re outlining, to account for space you’ll lose after hemming and sewing together the costume.
If you don’t want to have to sew on a button and make a button hole in the back, I recommend making the collar low so that it’ll fit on being slipped over the child’s head. Once it’s outlined, go ahead and cut out the fabric piece.
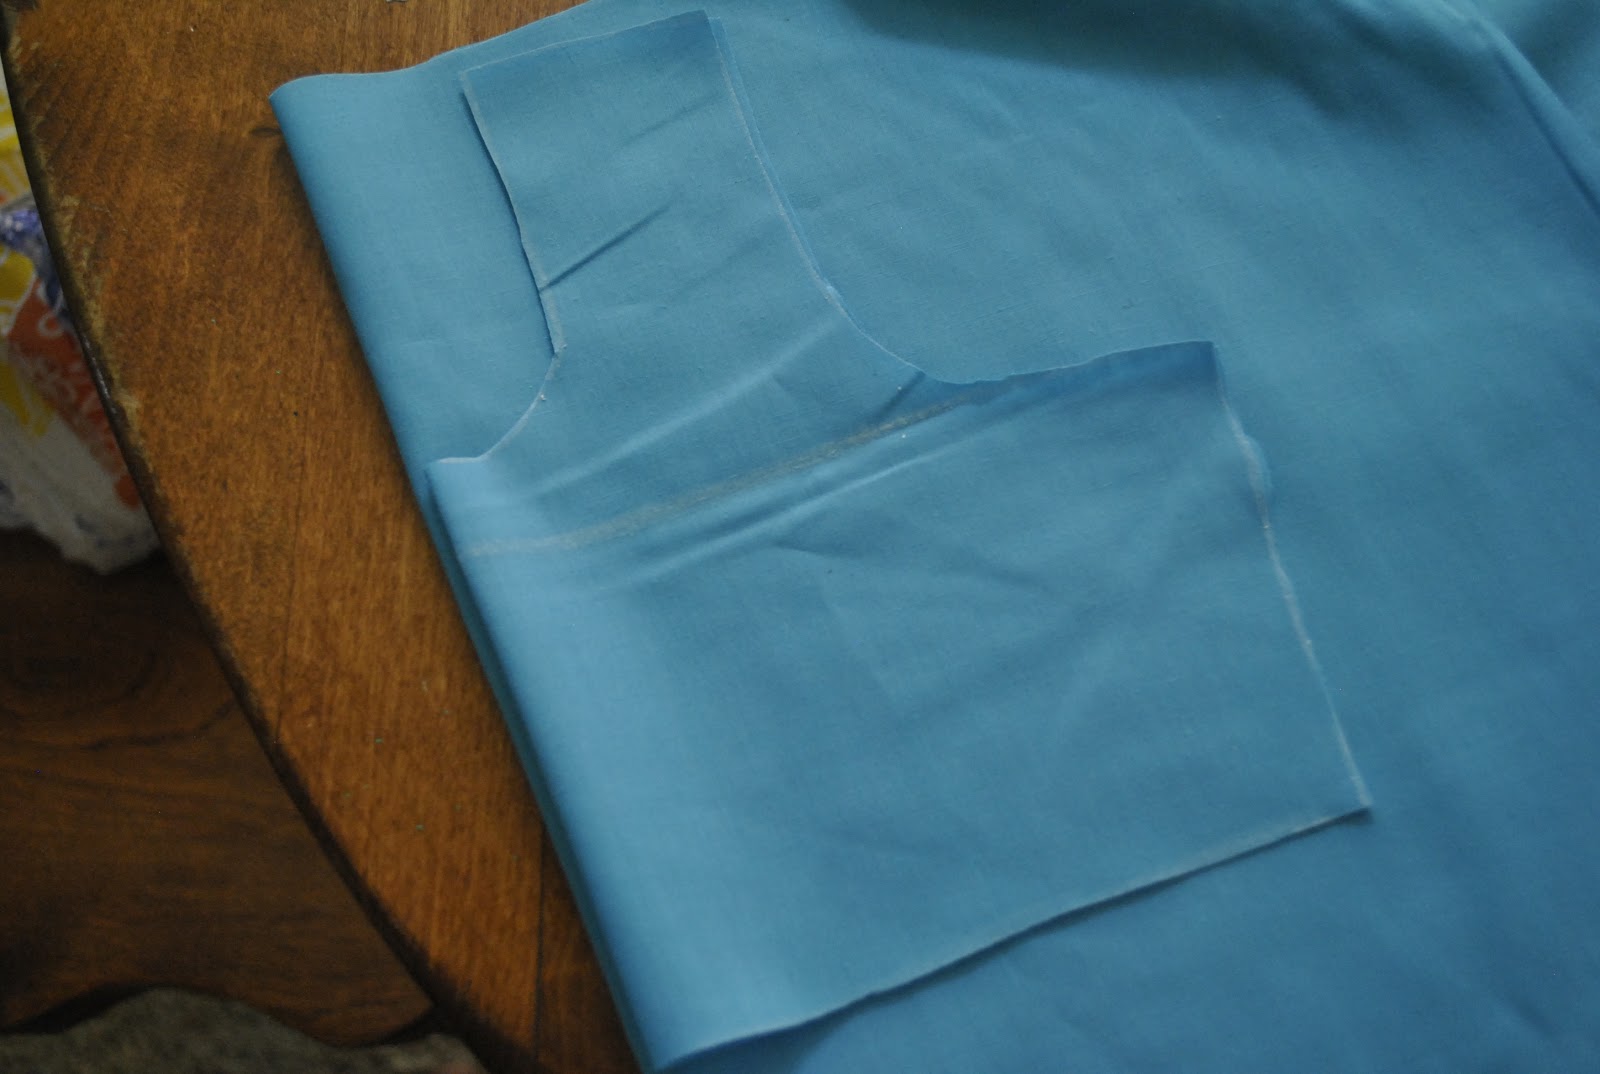
Once cut, place the still folded piece of fabric over main piece of blue folded fabric to cut out the second part of the bodice.
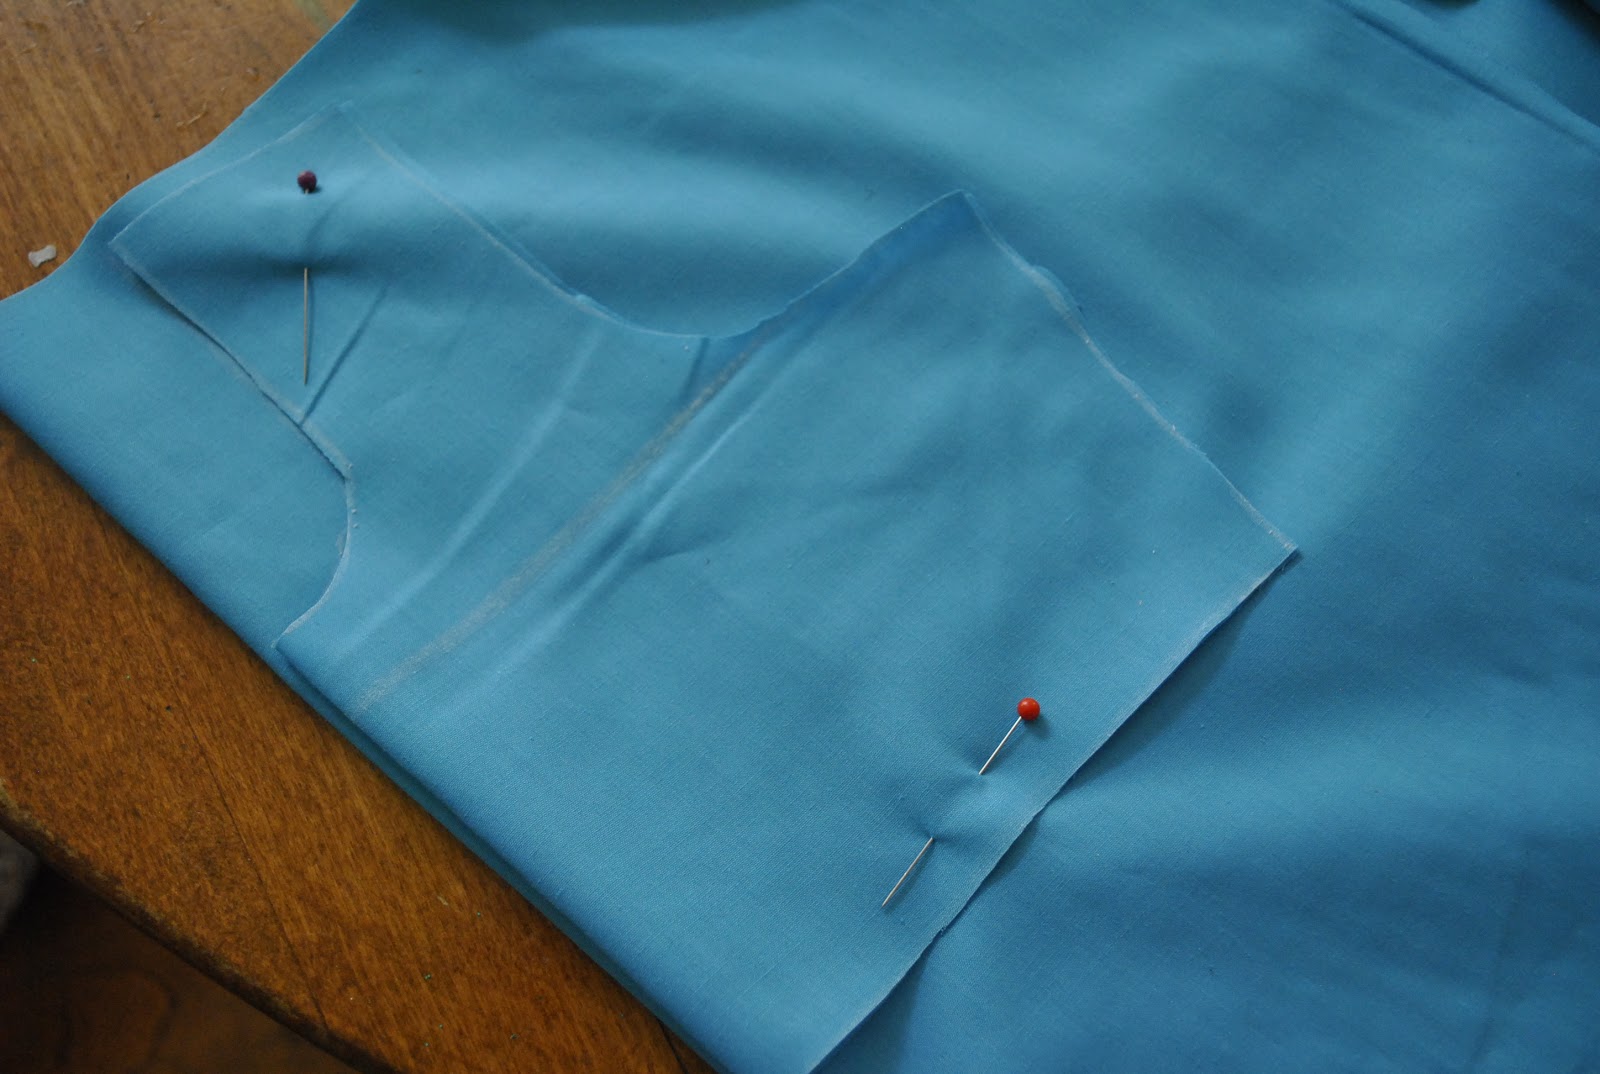
I recommend pinning the fabrics together so it doesn’t slide around while you cut it.
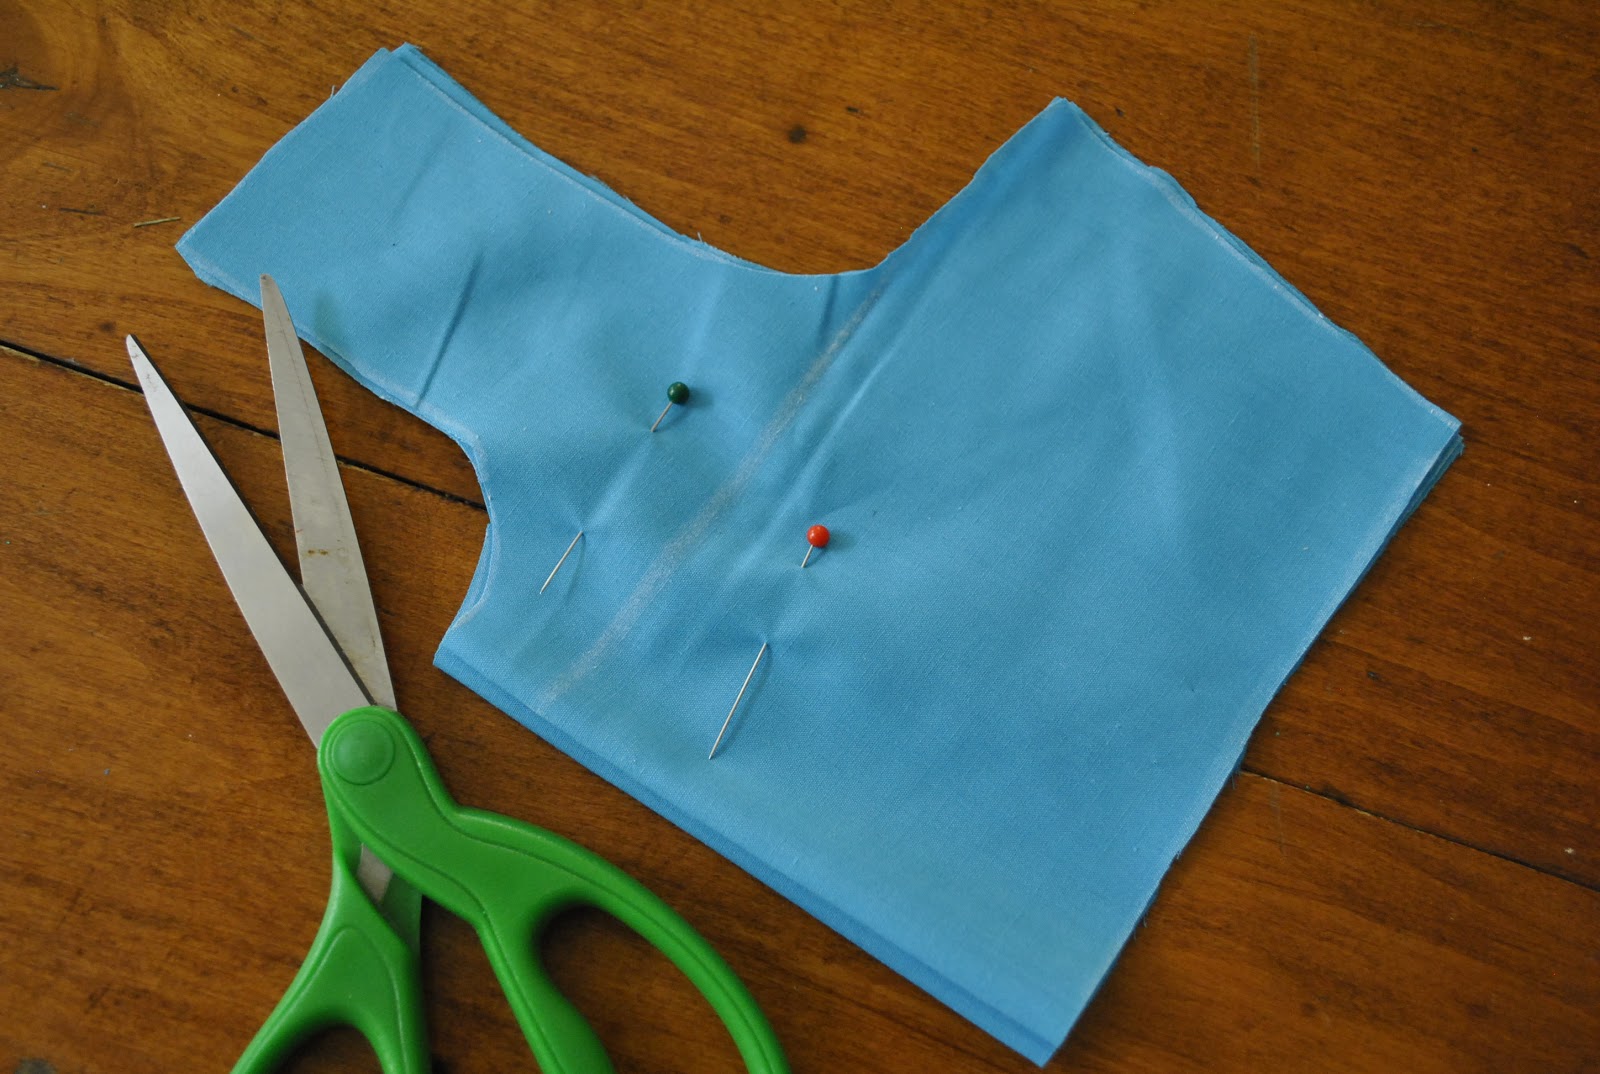
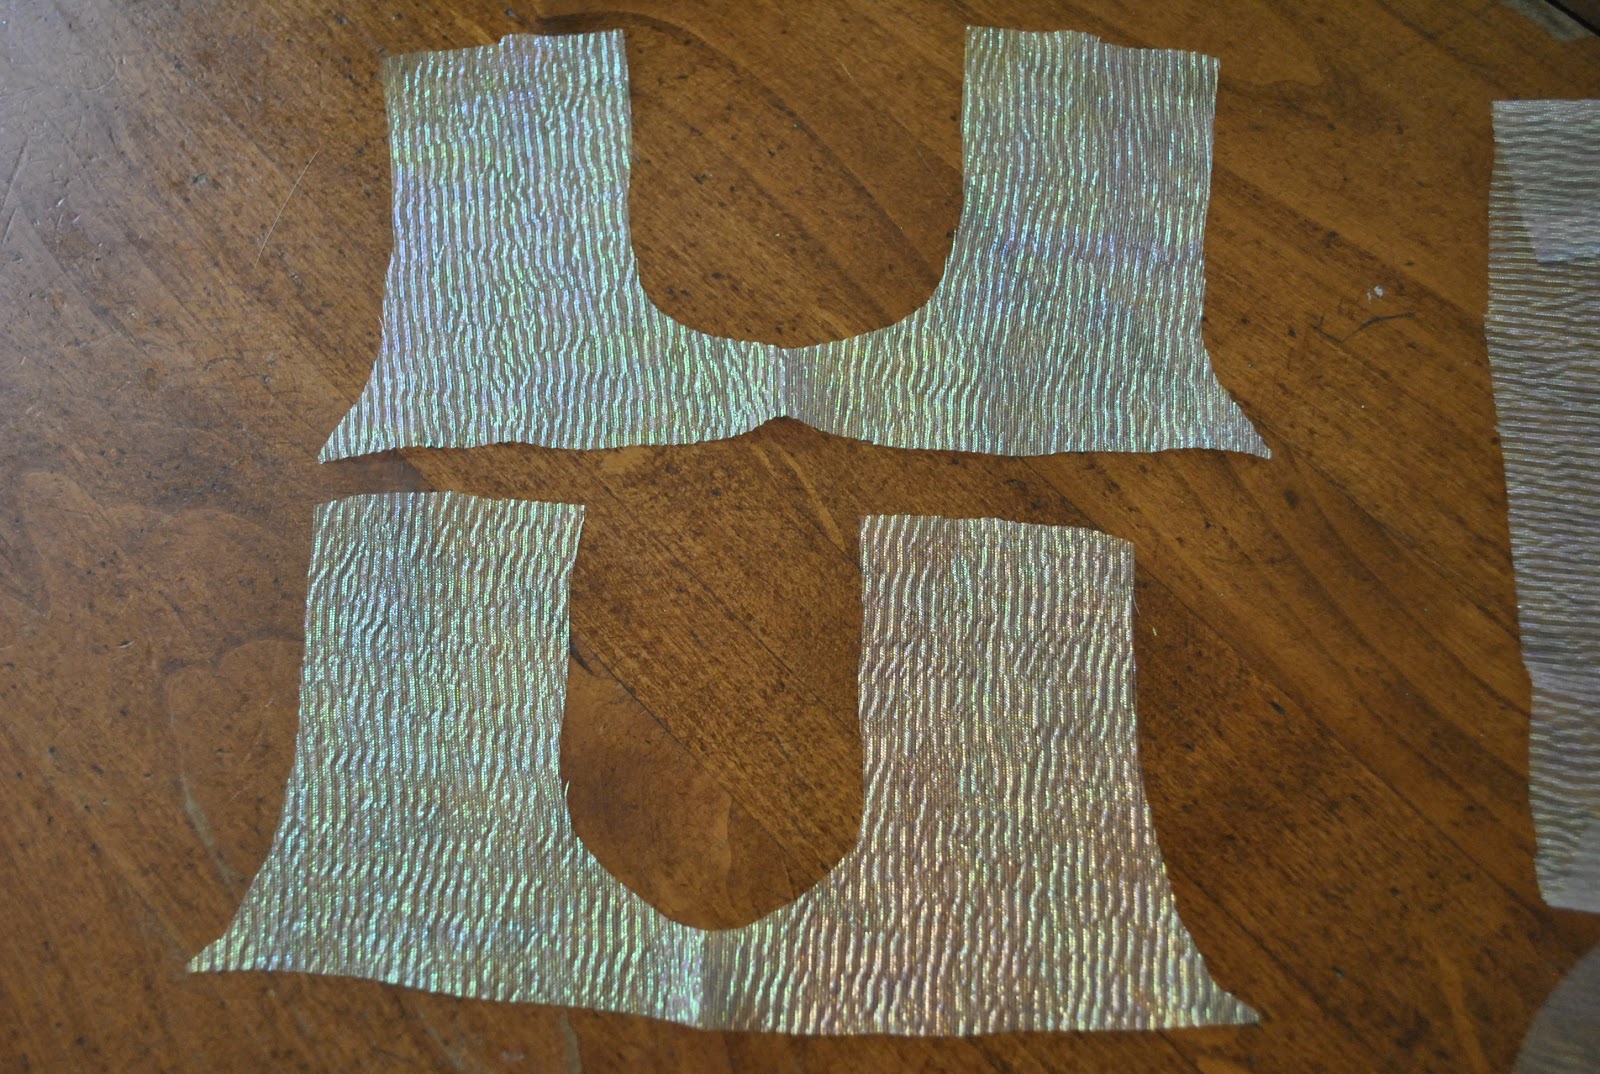
WIth the two bodice pieces still pinned together, draw another line straight across starting from the middle right hand corner, as pictured. Once cut, it should look like this:
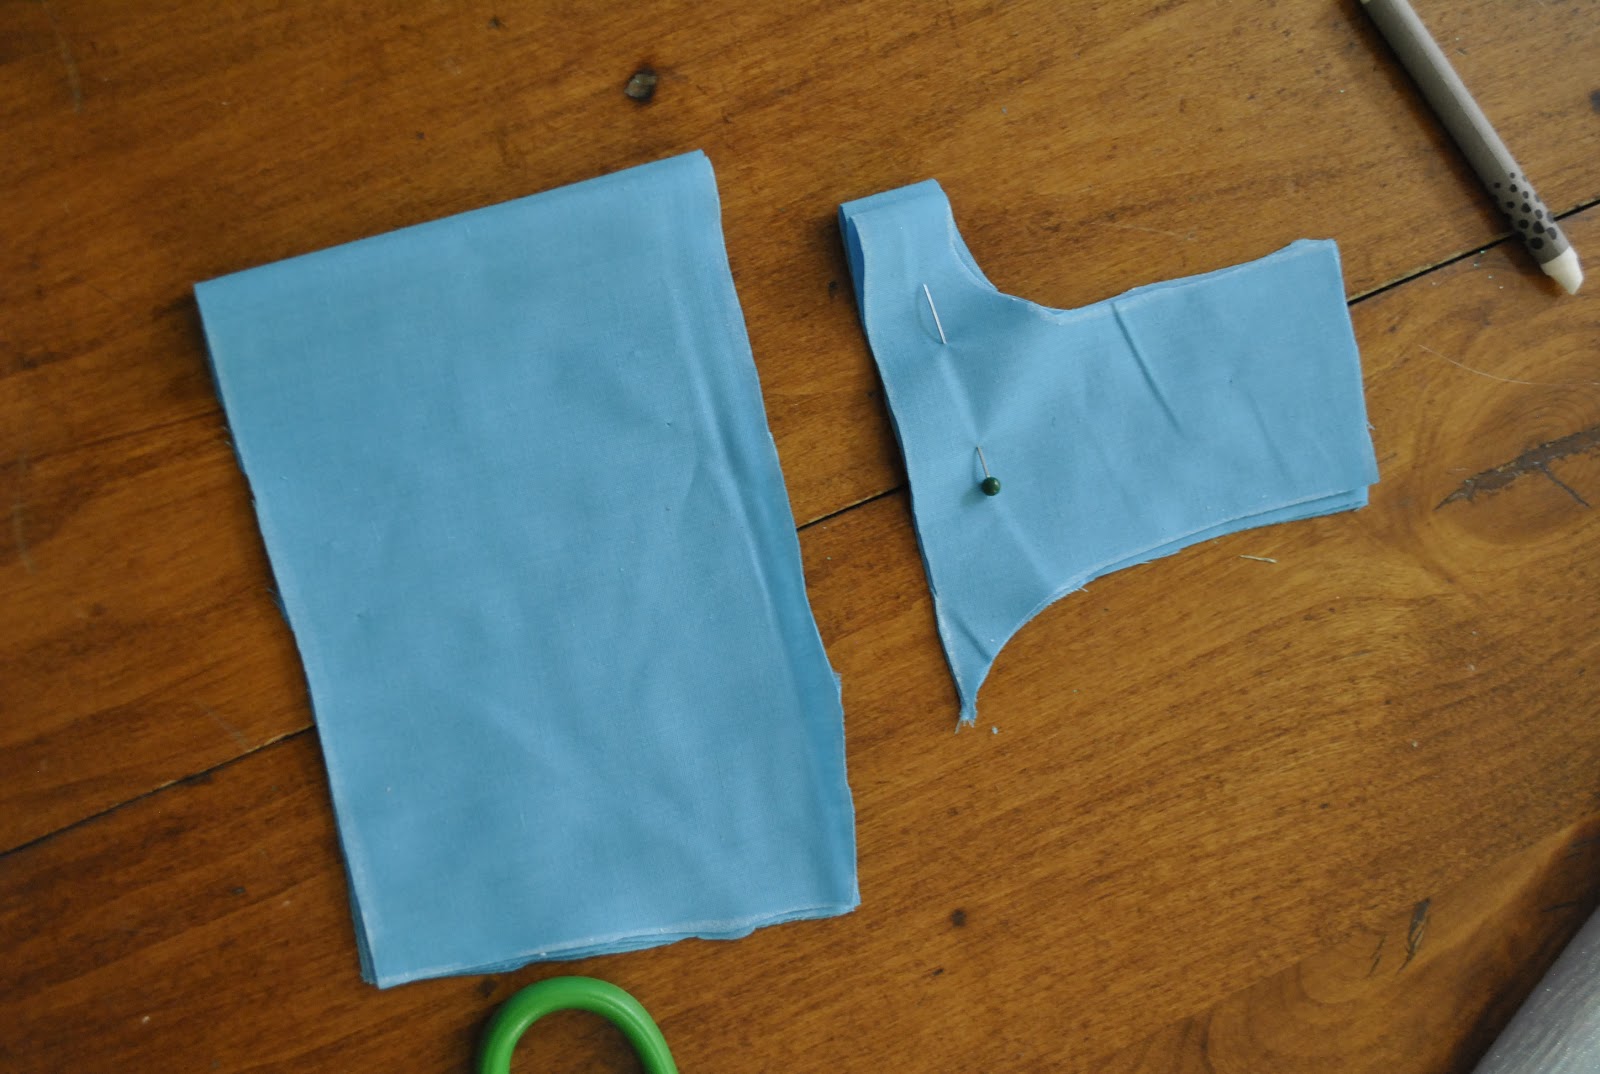
Go ahead and set aside the top sleeve parts for now.
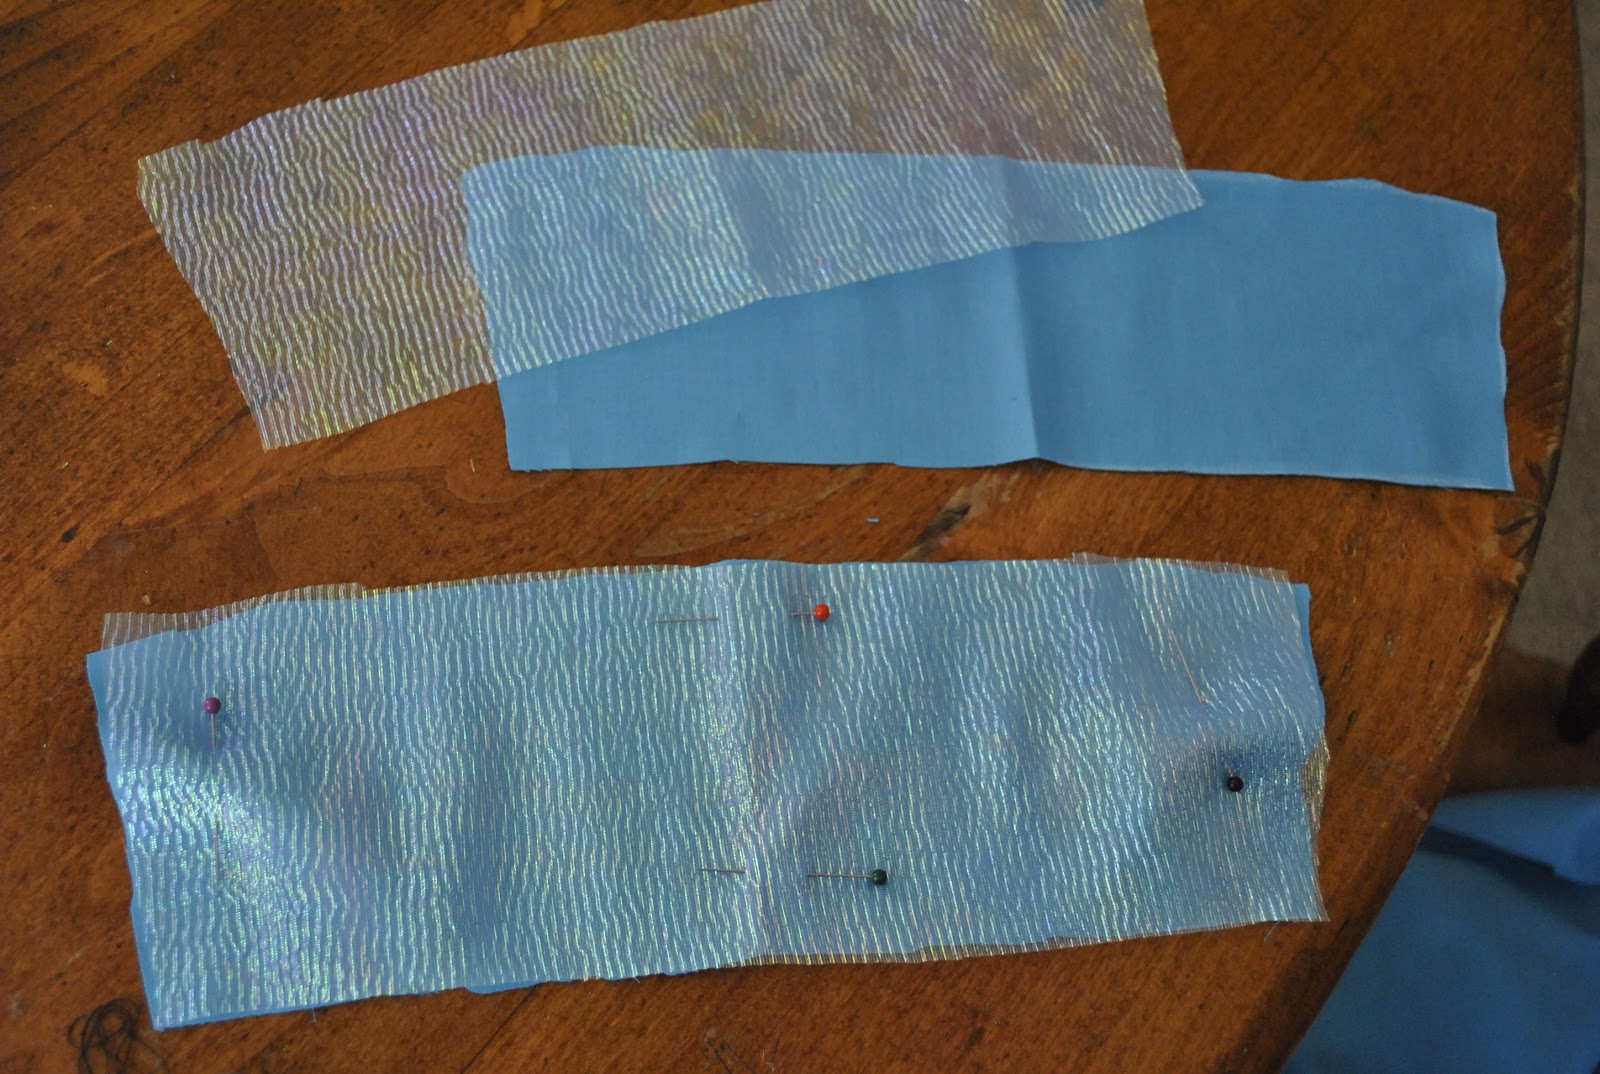
Next, go ahead and fold over your sheer fabric:
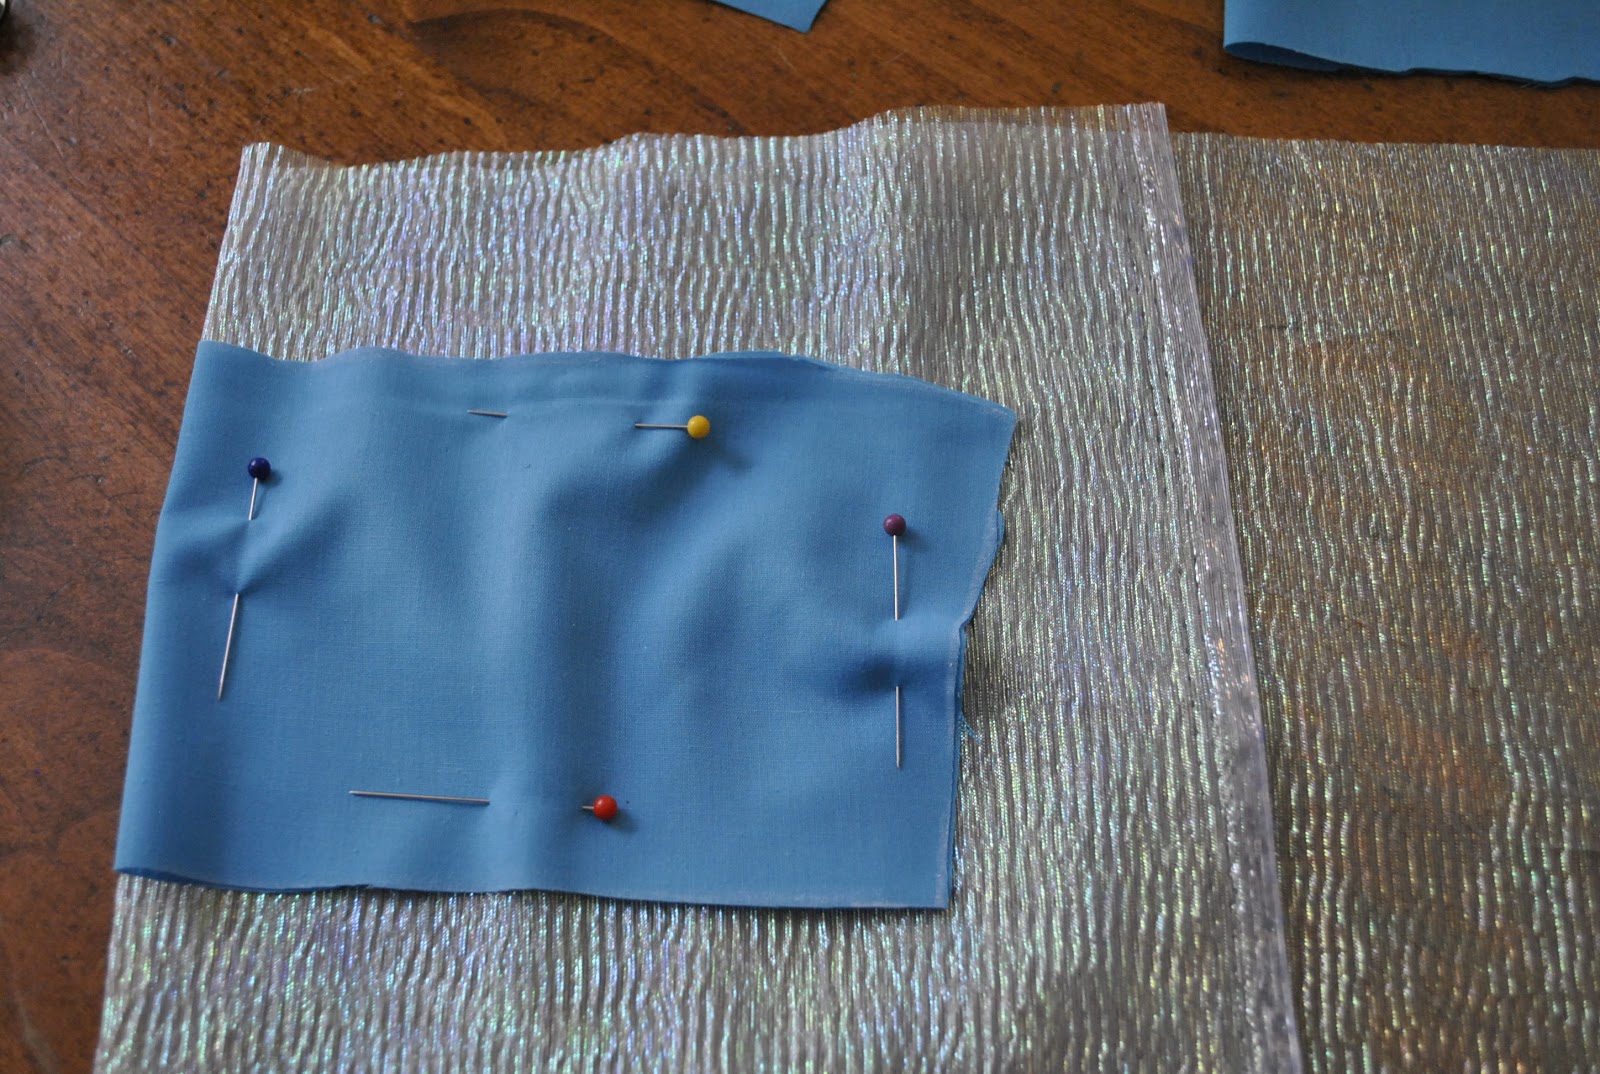
Once your sheer fabric is folded over, place and pin one of the folded light blue squares on top of the sheer fabric, and cut. You will do this twice.
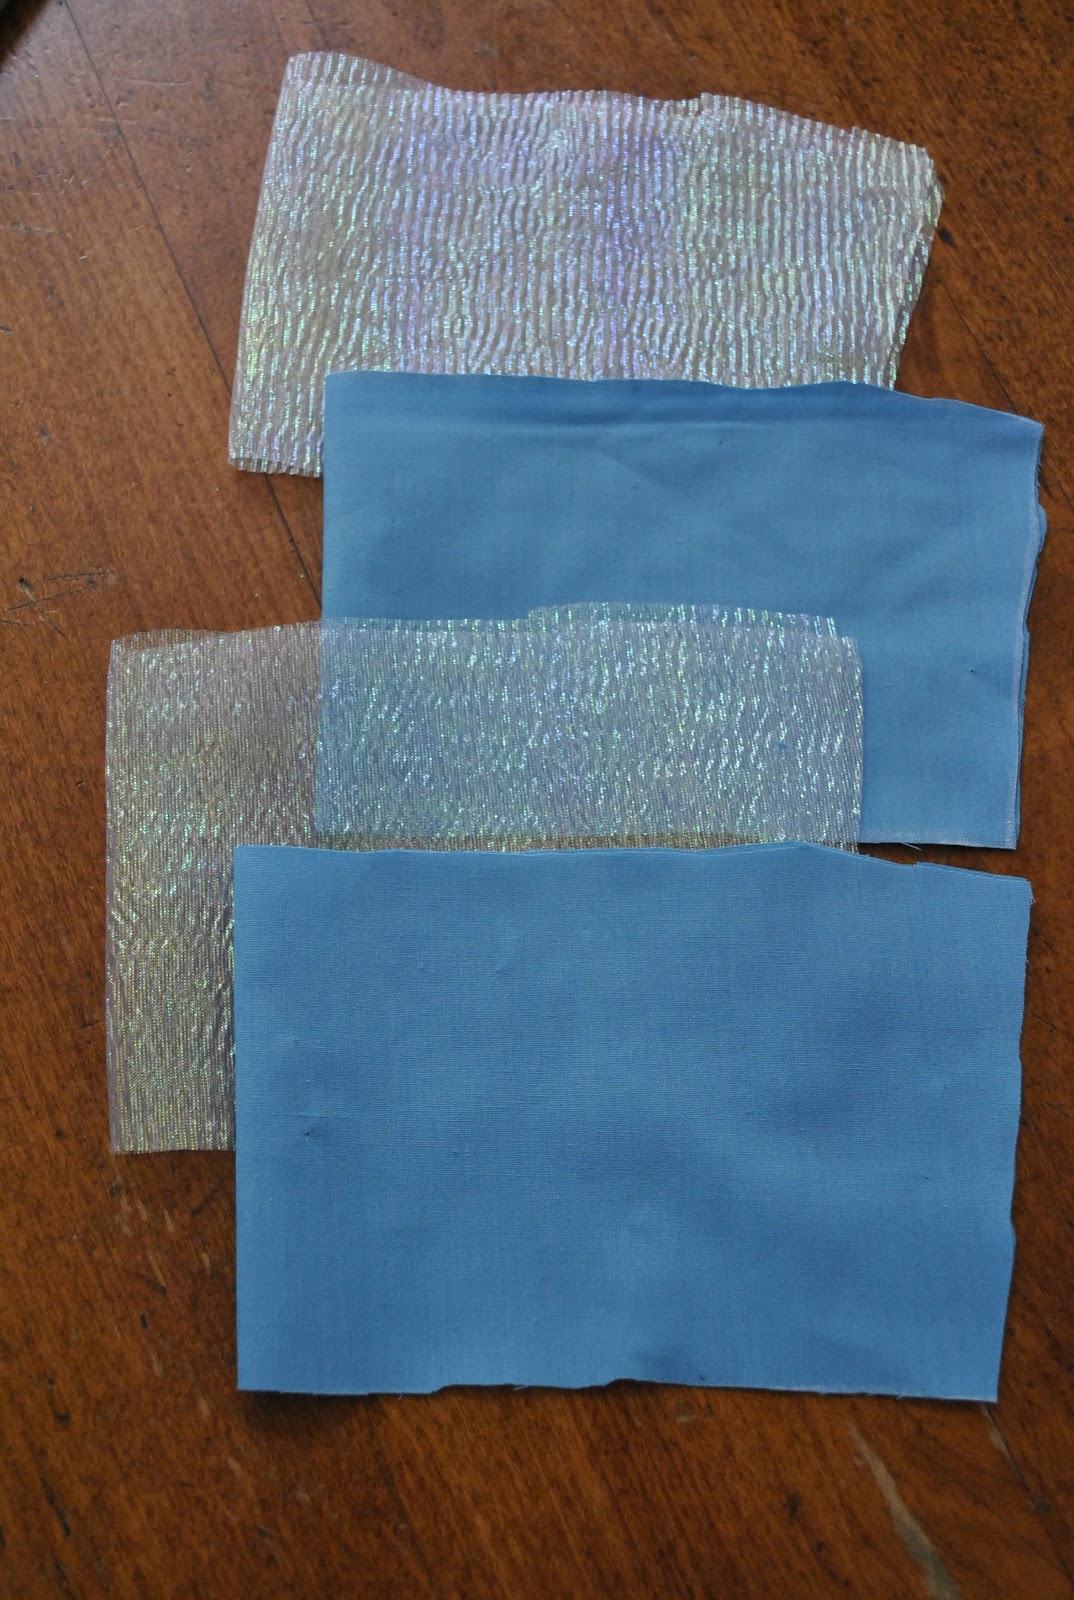
You should then have four bodice pieces, two sheer and two cotton. Pictured above is them folded in half.
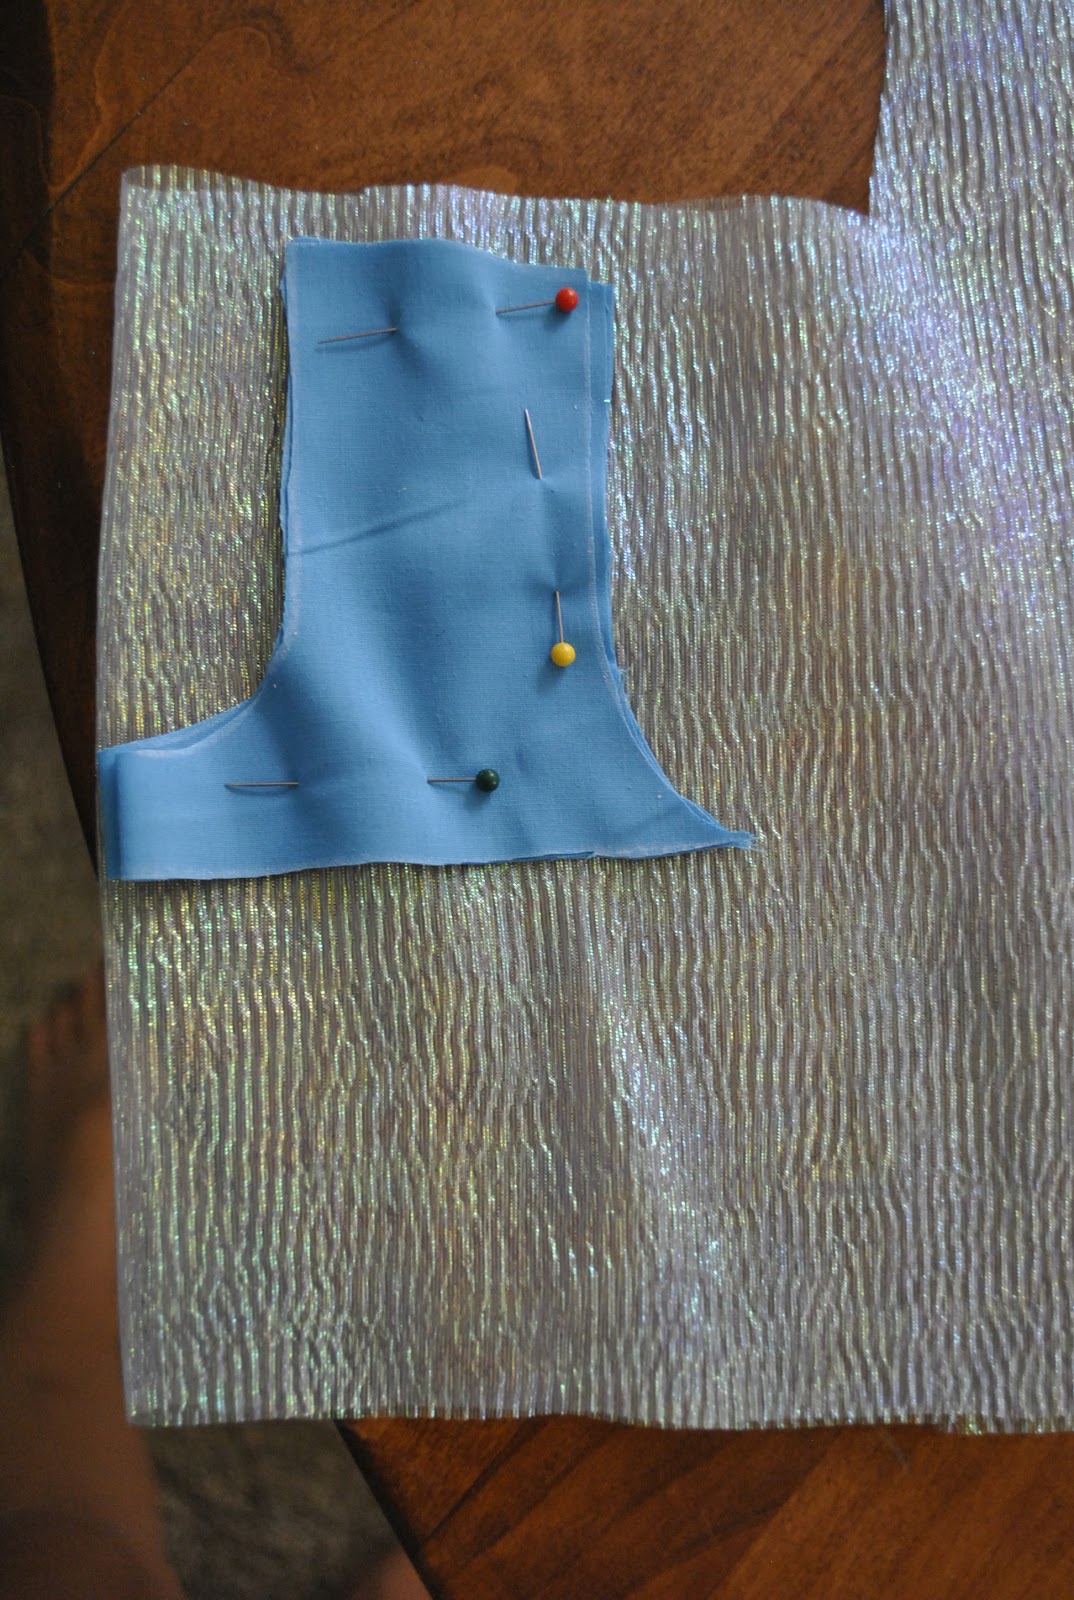
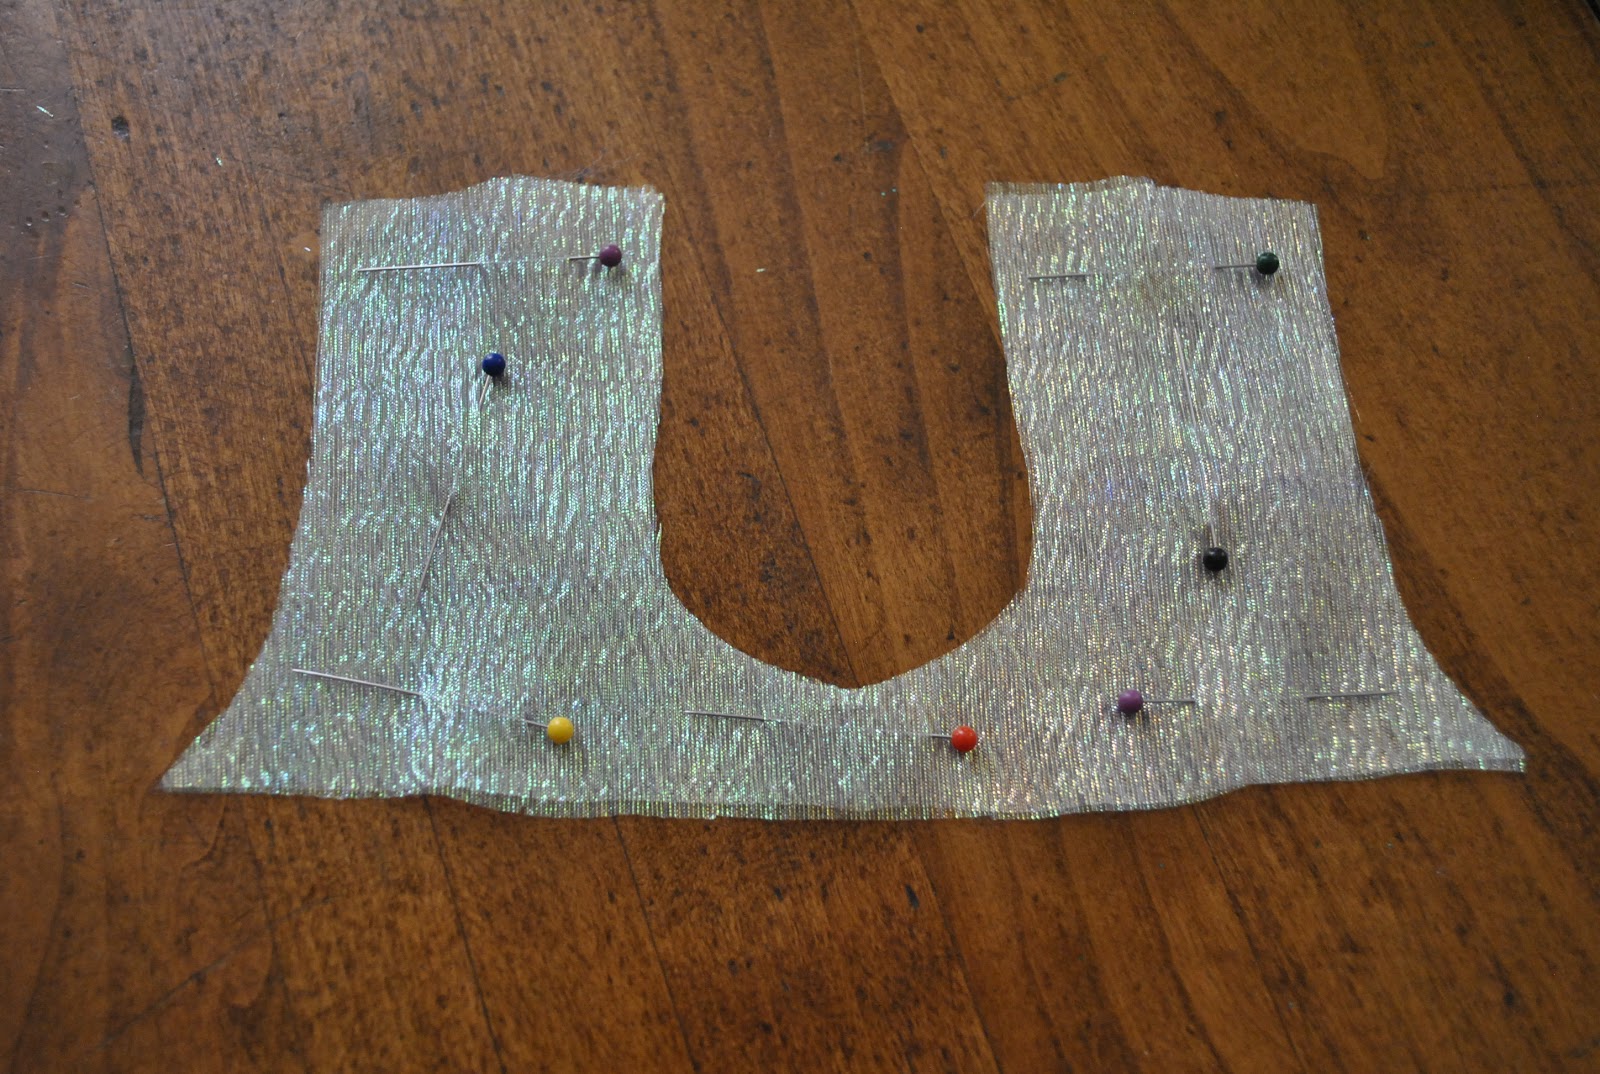
Next, take those top sleeve parts we set aside earlier and pin one to the folded over sheer fabric. You will cut out four of these pieces from the sheer fabric.
Once cut, the sleeve parts should look like this once they are cut and unfolded.
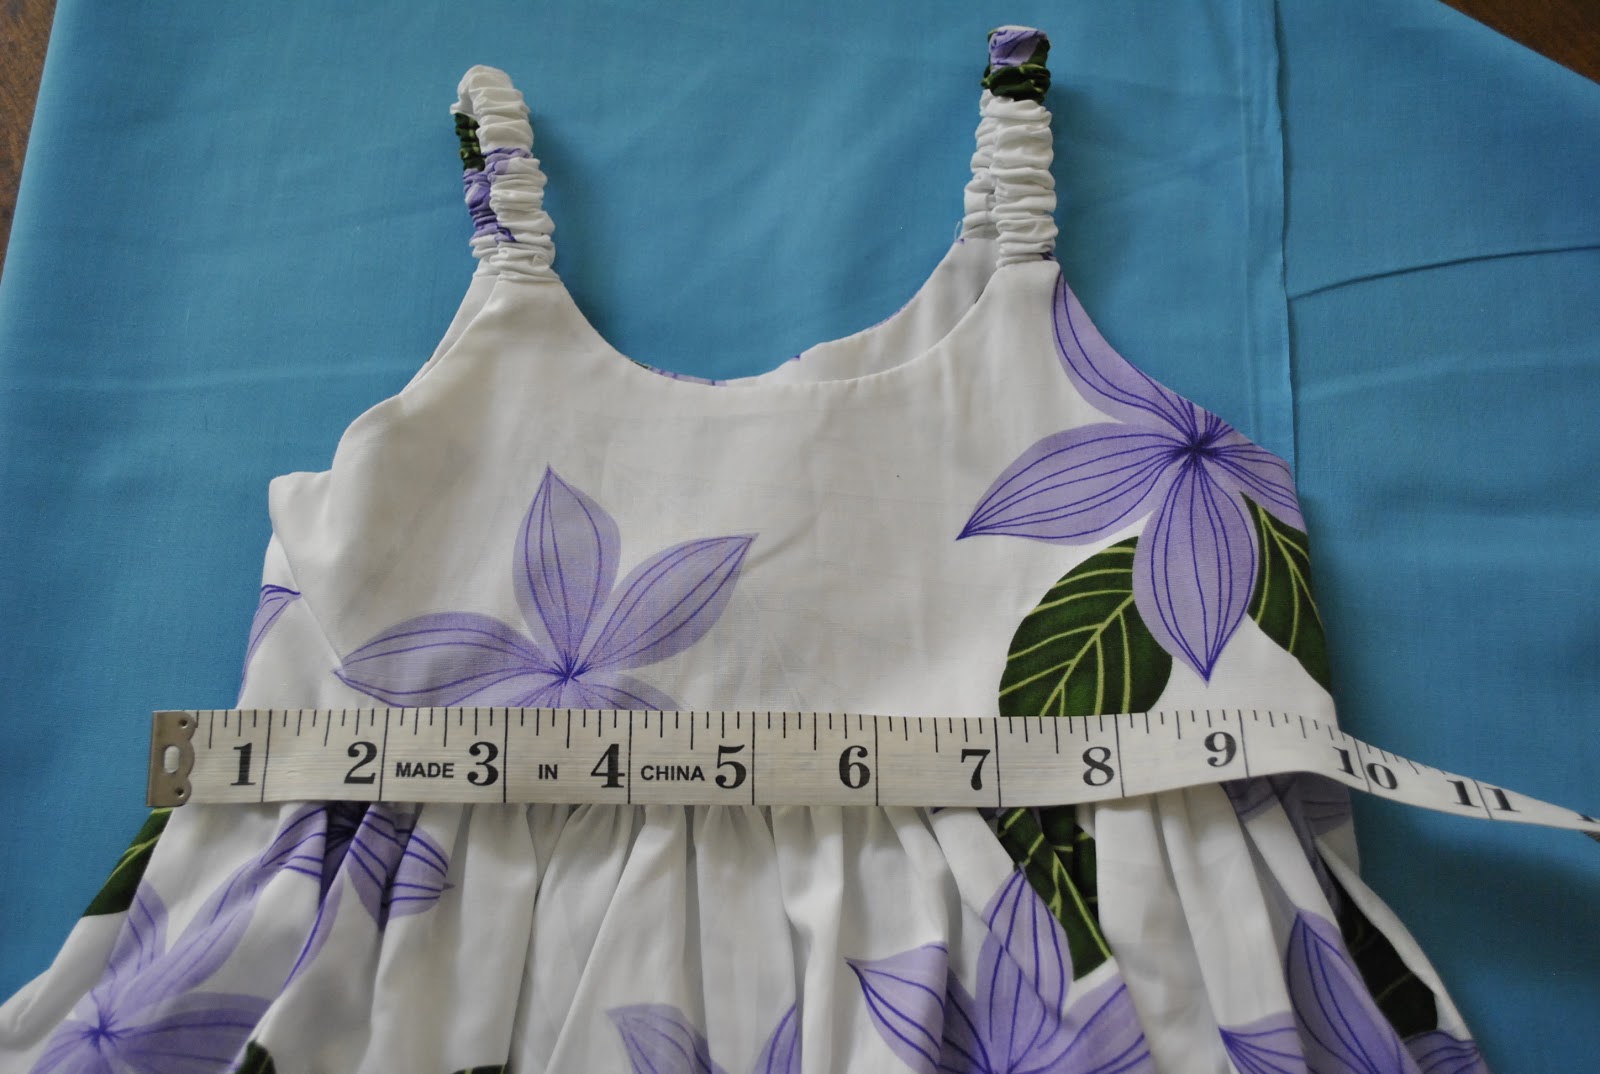
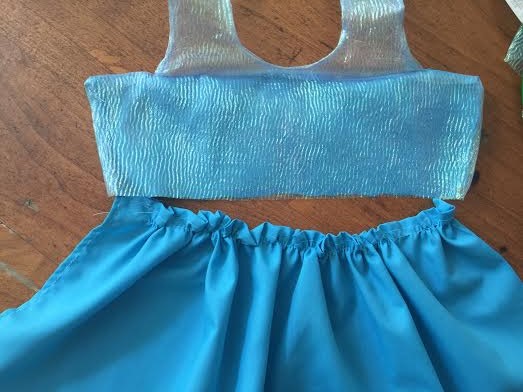
Next, go ahead and measure the length of the bodice of the dress you used to cut your “patterns”. Mine was 10 inches. Measure the length from the waist to the bottom of the dress as well, that measurement for my dress was also 10 inches.
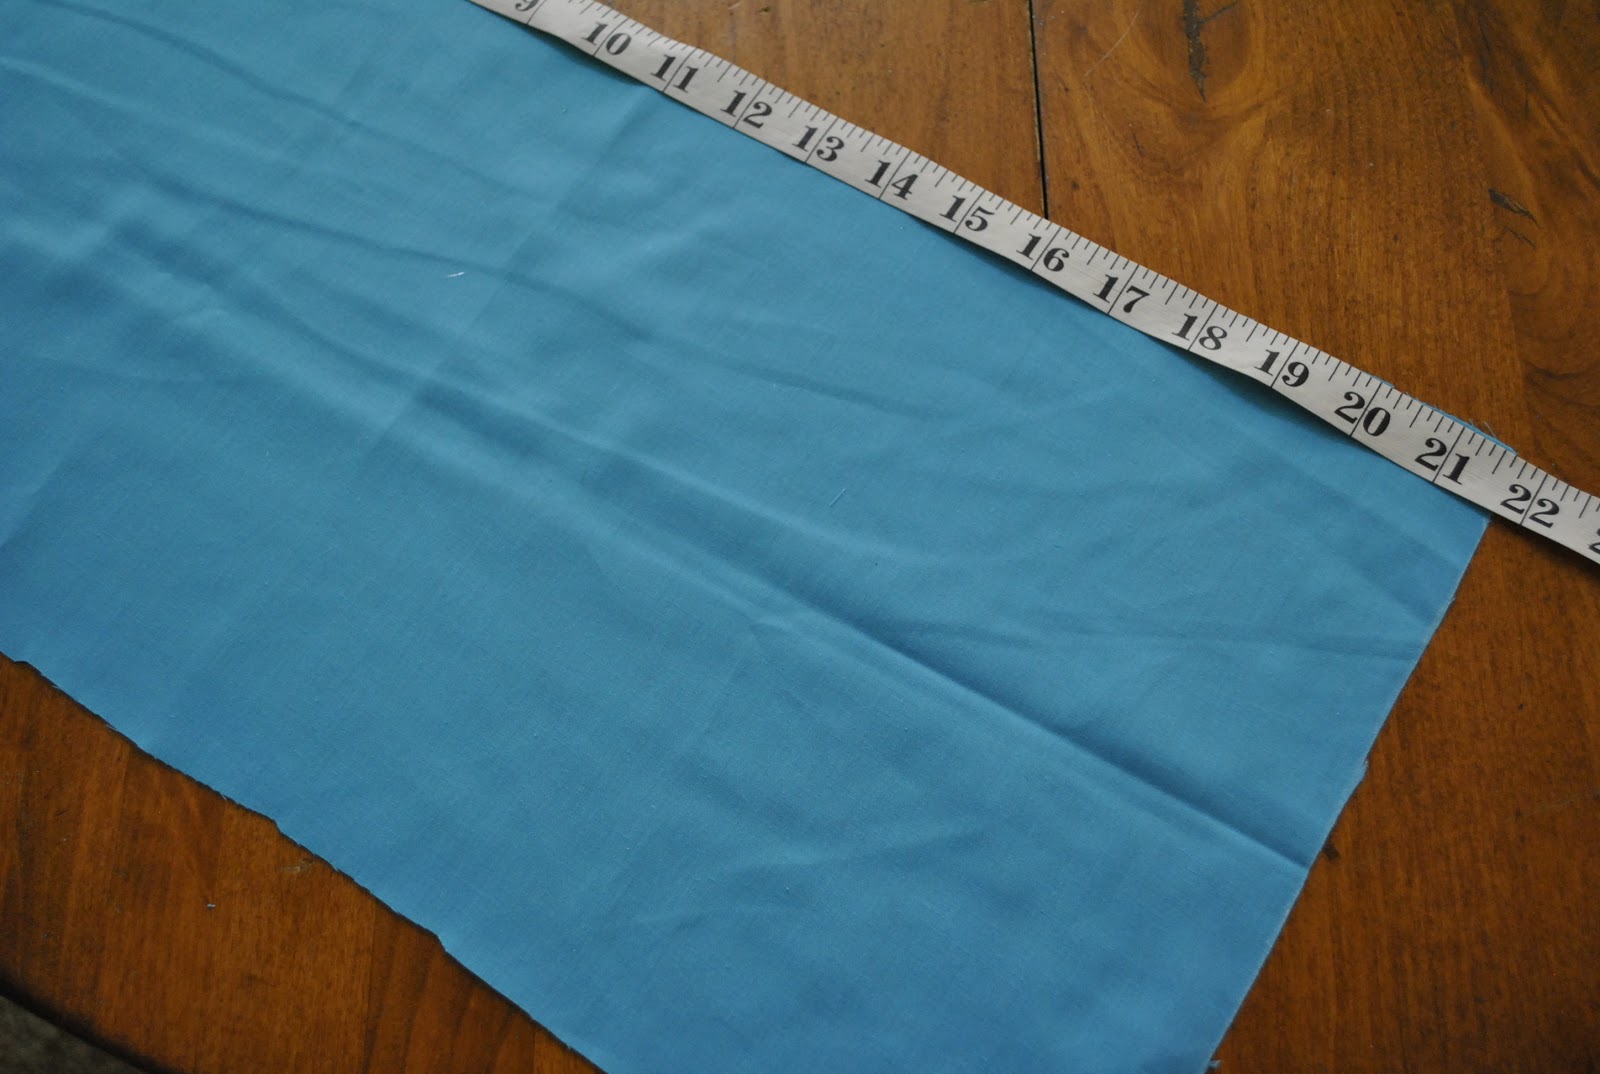
Next, spread out your blue cotton fabric and lay the tape measurer across your blue fabric. You are going to cut two rectangles from the blue fabric. Both width and the length of your rectangles will be twice the length of your measurements, plus two inches onto that. For example, my measurements were 10 x 10 inches, so I then cut two rectangles each 22 x 22 inches. You will also cut one rectangle out of the sheer fabric using the same methods. Now you have all of your costume pieces, and we are ready to sew together!
Take two of your sheer sleeve pieces and pin them together, as pictured above.
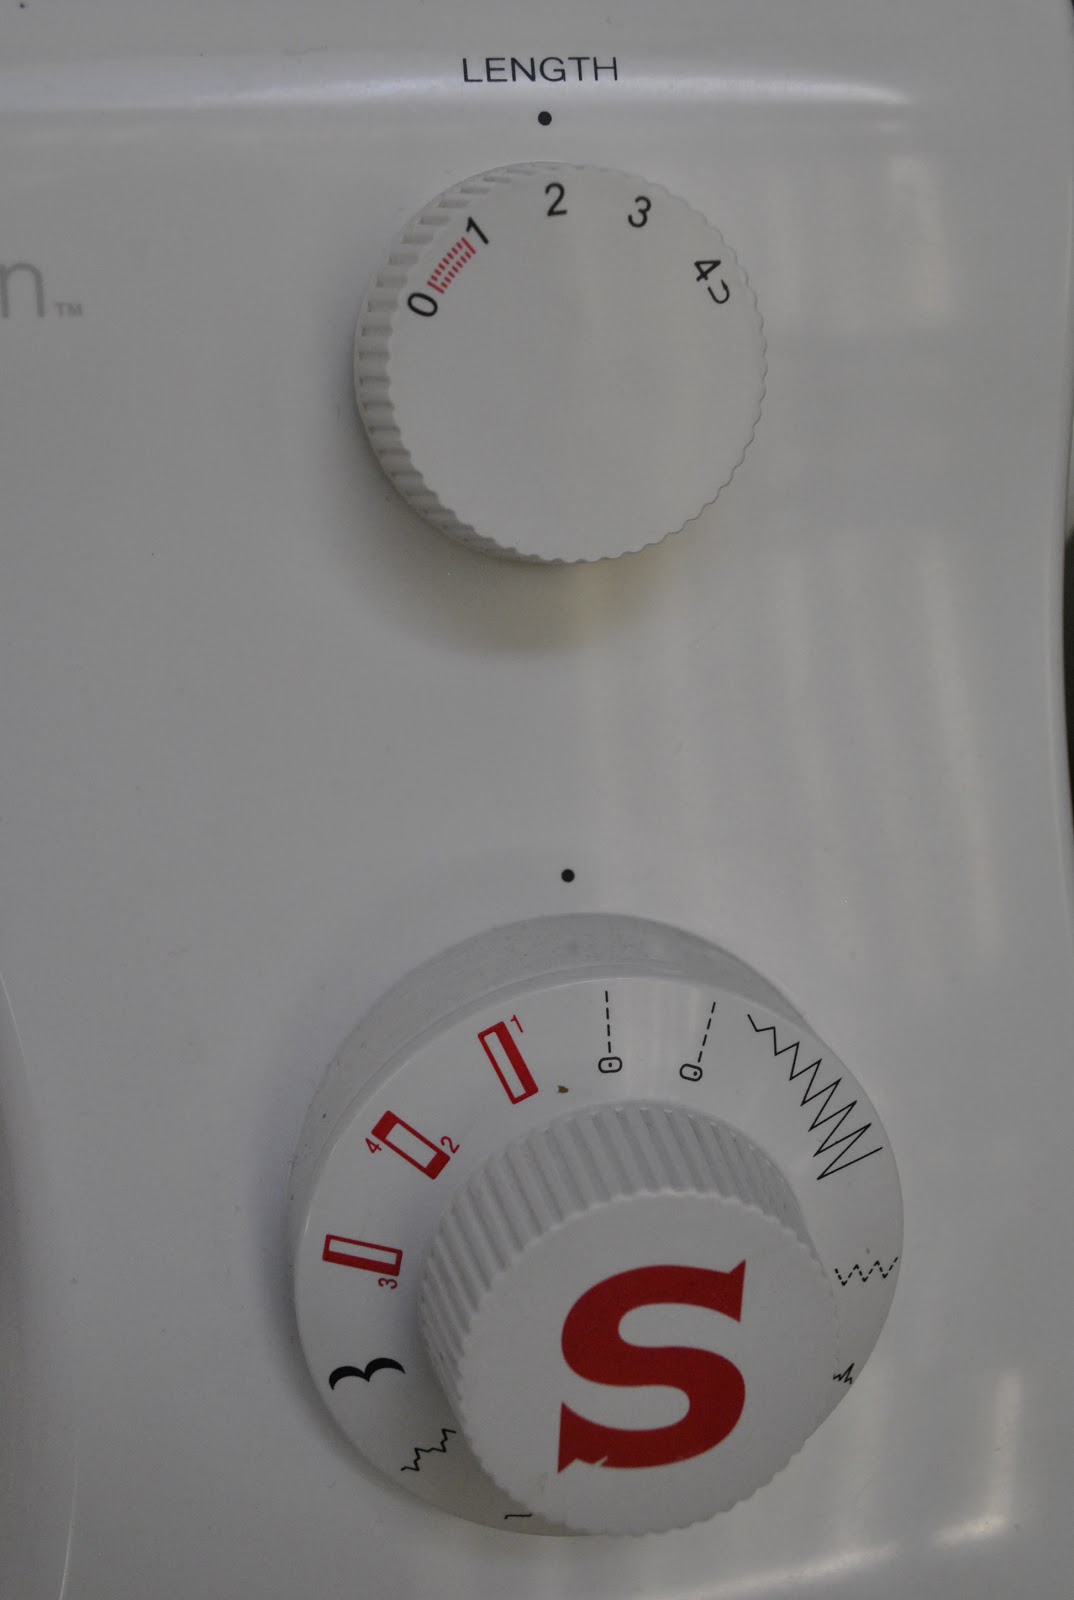
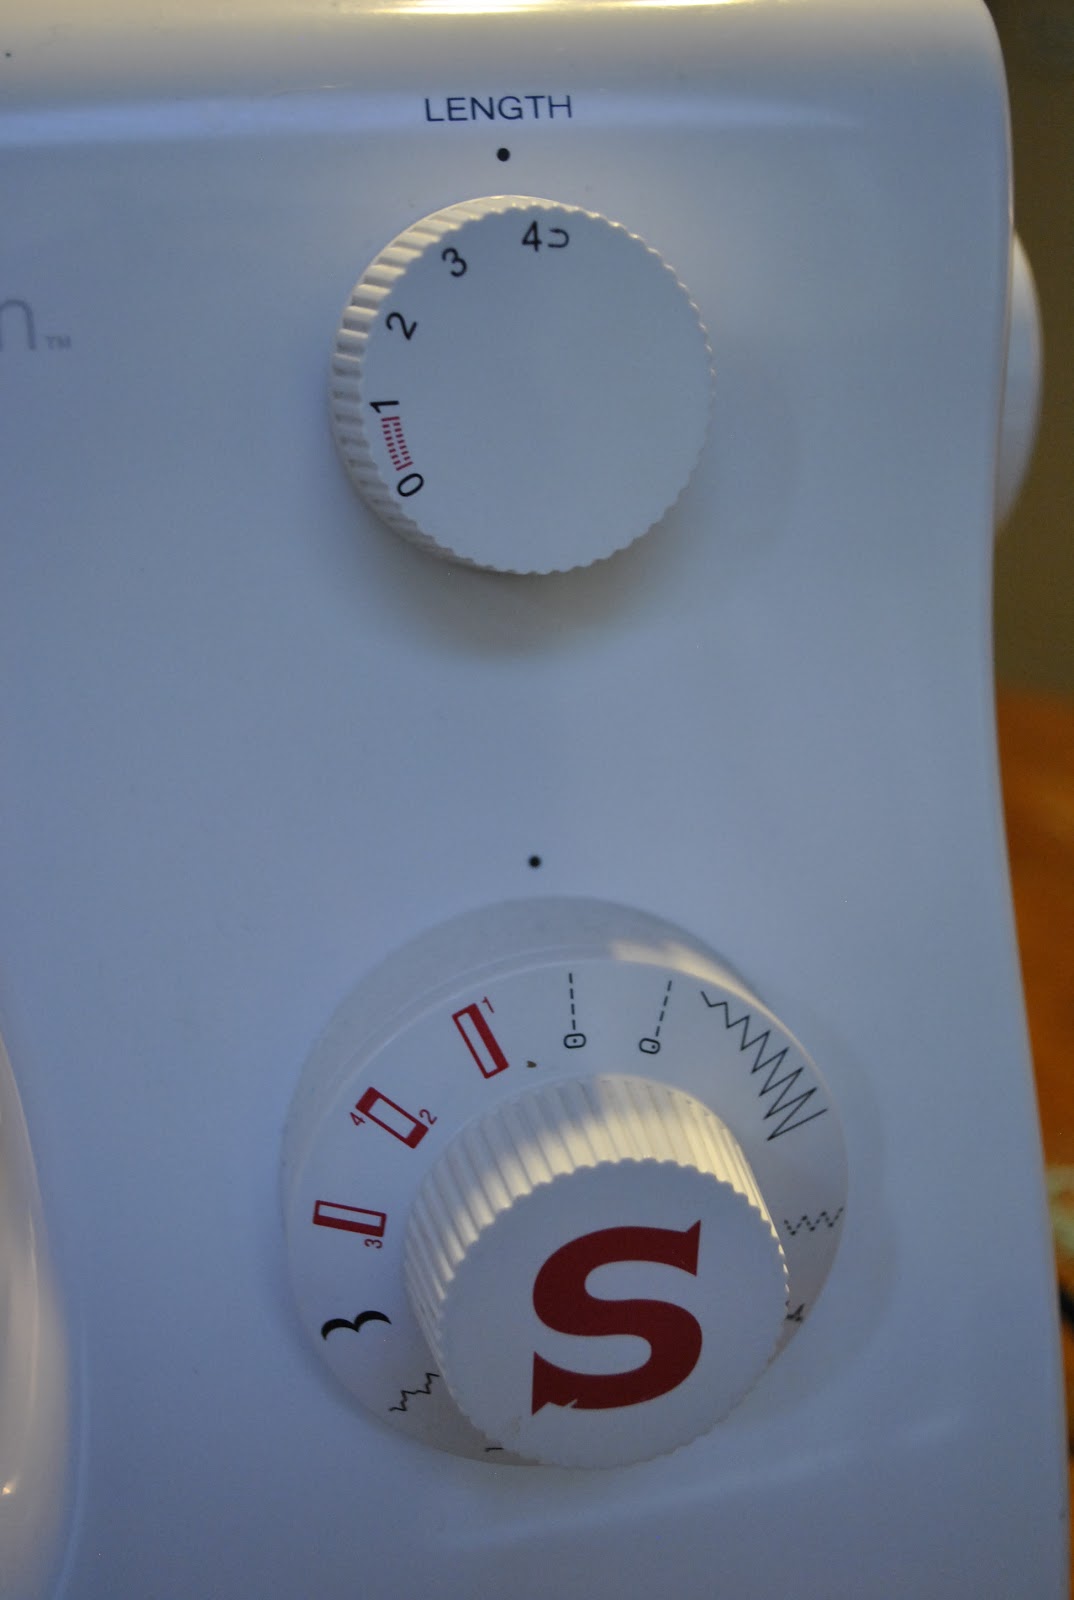
For this part of the sewing, I recommend using a straight stitch, and putting the stitch size on the “2”–making the stitches small enough to be tight yet large enough where you can rip them out with a seam-ripper if you make a mistake and need to. Sew the sleeves together except leave the bottom unsewn.
Once you have two of the sleeve pieces sewn together, you can sew the other two sleeve parts together as well. Remember to leave the bottom open so you can then turn each side inside out and have clean sides!
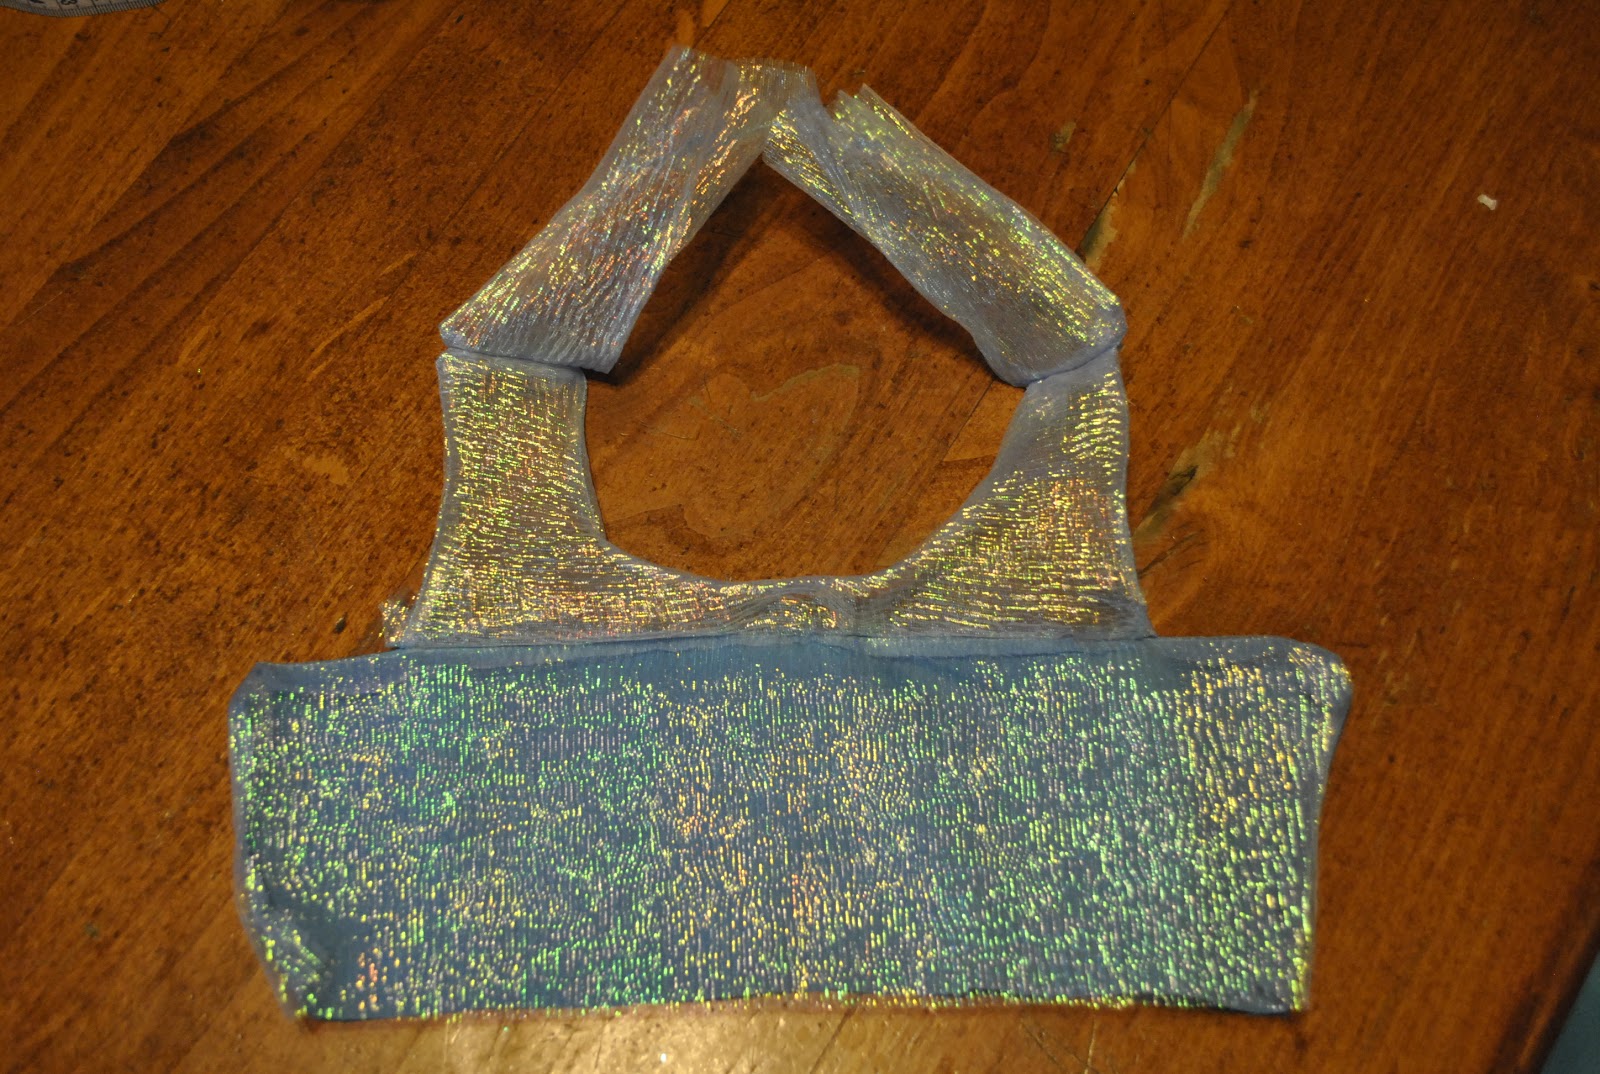
Now that you’ve turned the two sleeve pieces inside out to have clean edges, go ahead and pin the tops of the sleeves together and sew the two tops of the sleeves together.
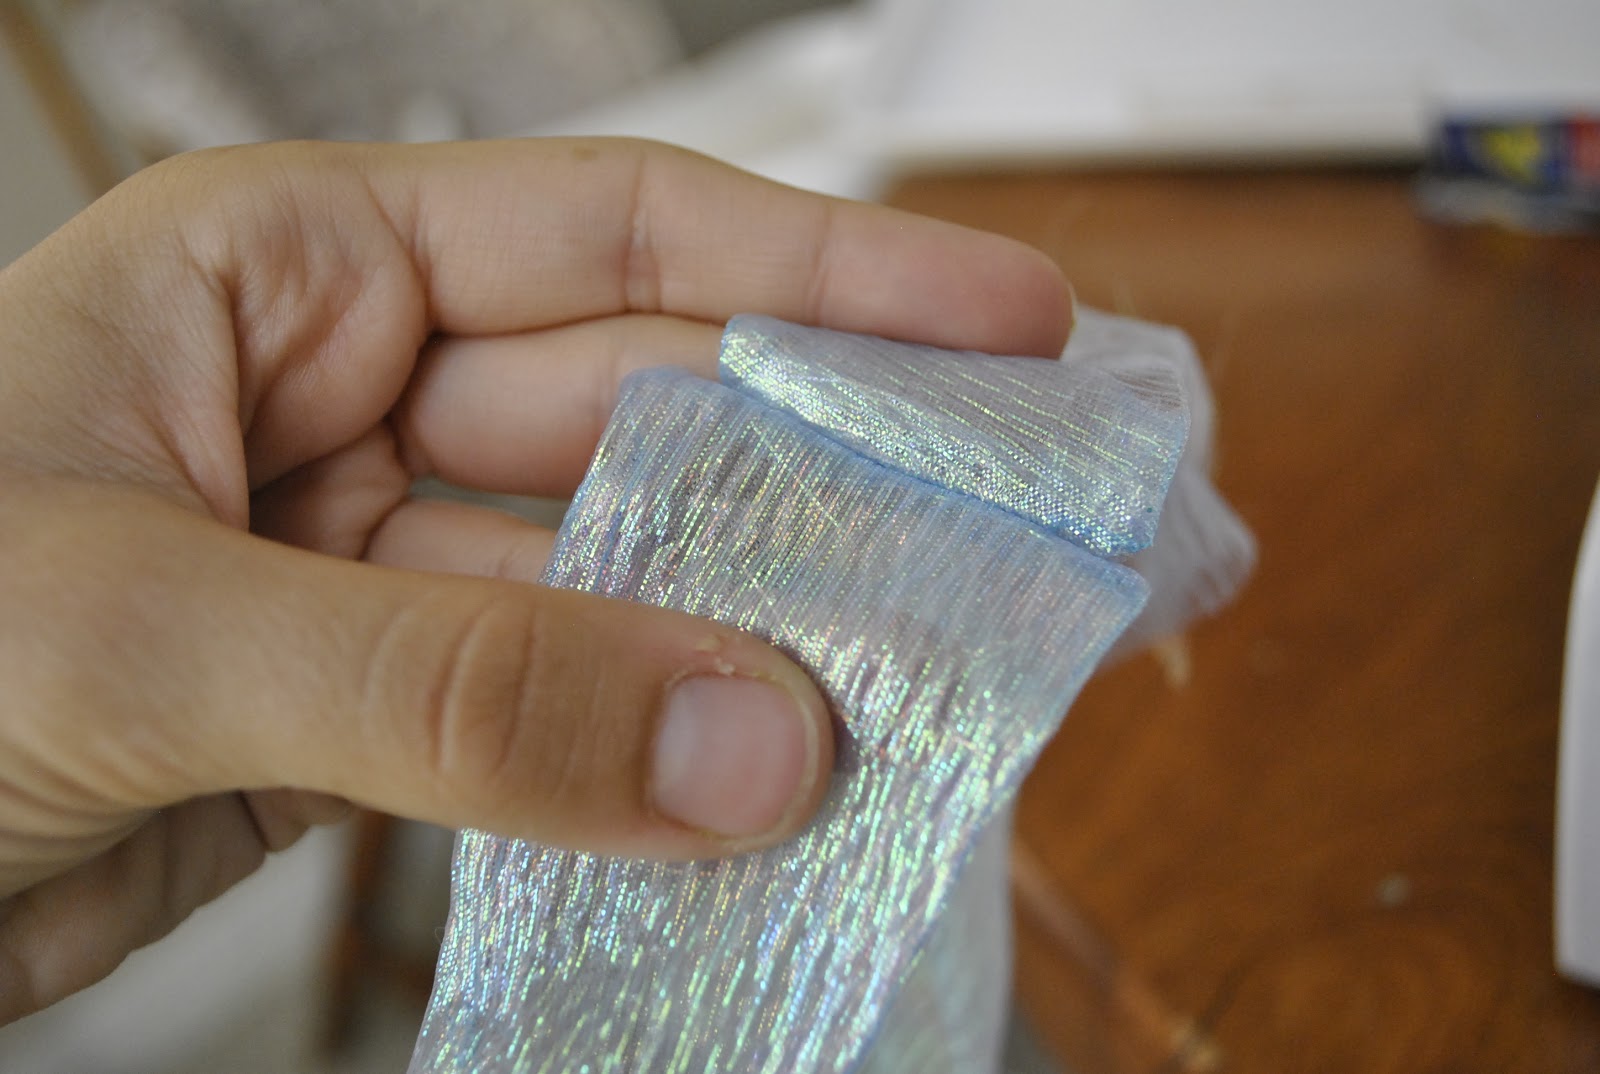
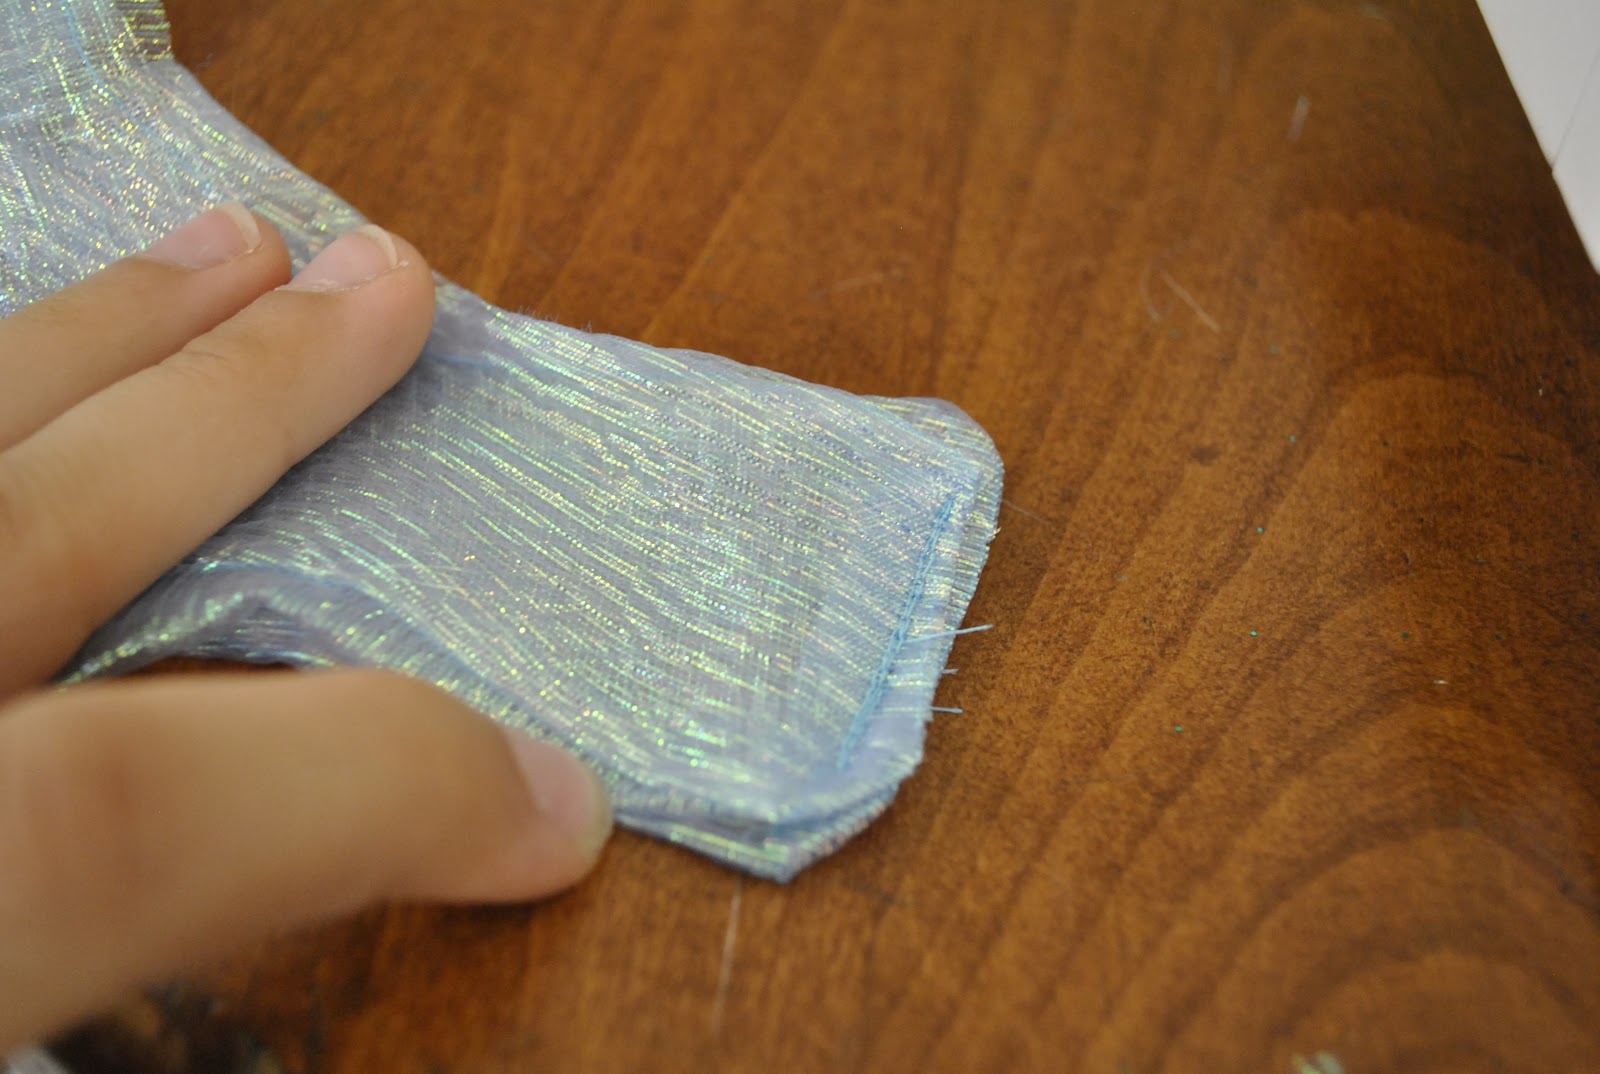
Once you sew them together and flip the sleeves over, it should look clean, as shown above.
Next, take your four bodice pieces (two cotton and two sheer) and pin the sheer on top of the cotton pieces.
Like with the sleeves, sew the sheer with the cotton together on all sides except the bottom. Do this with both bodice pieces.
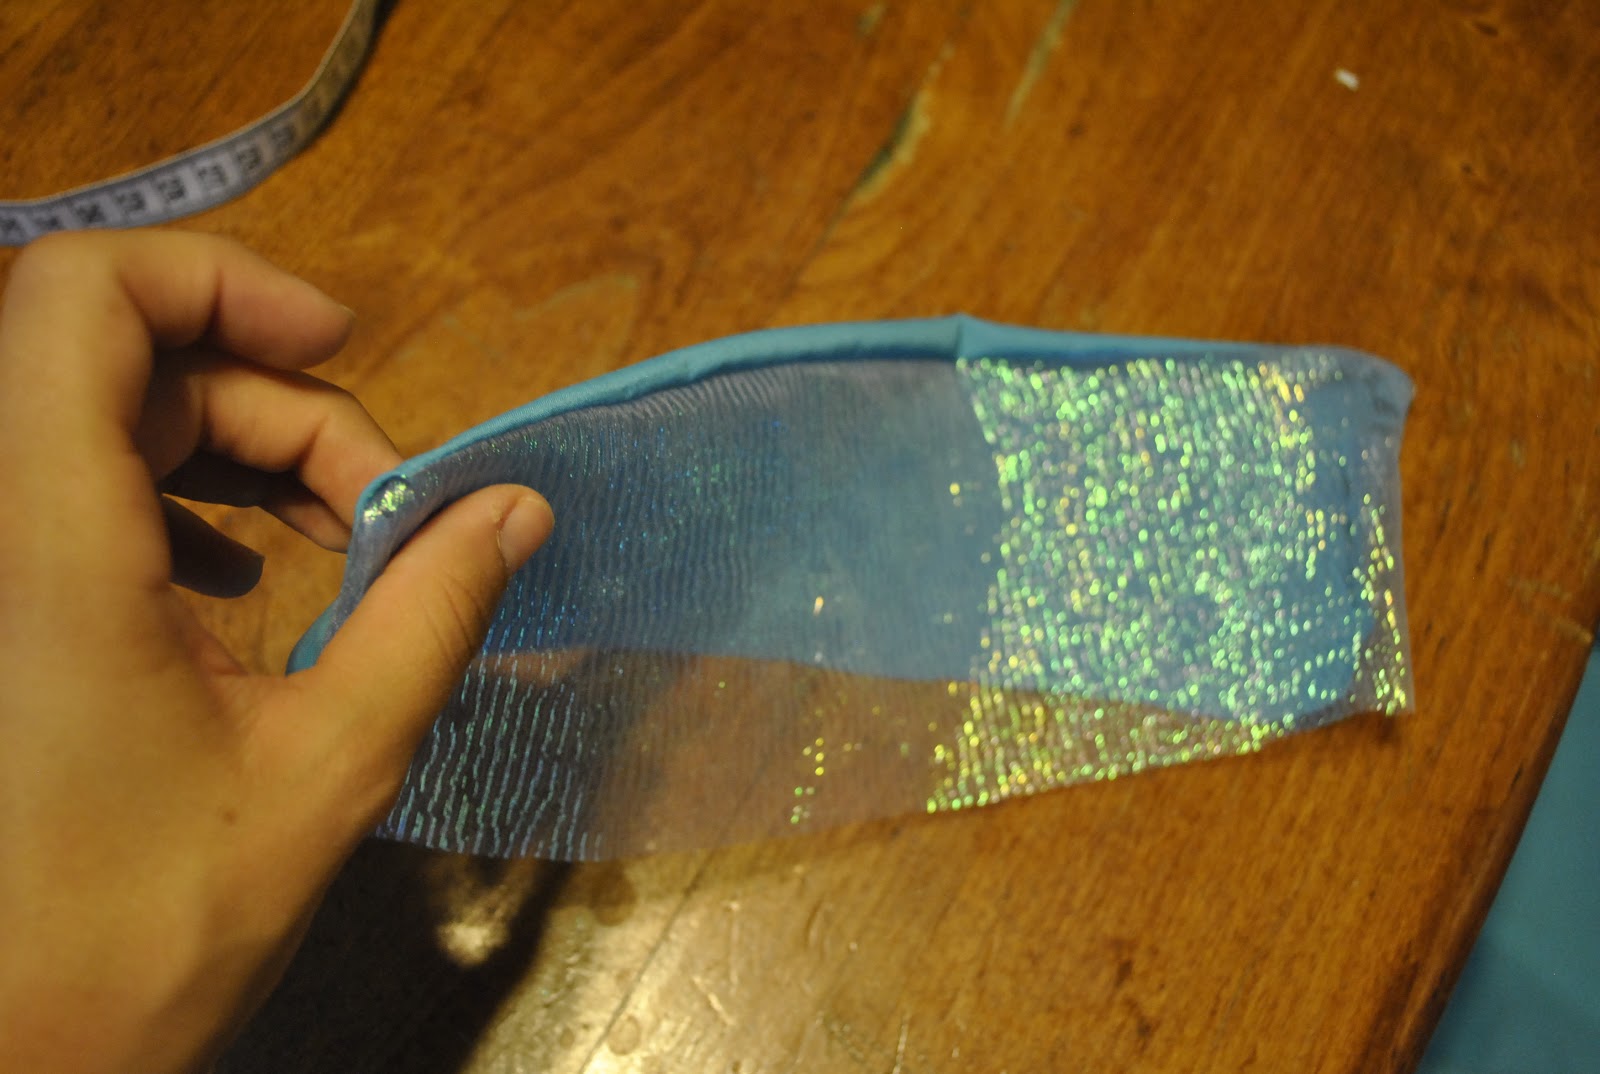
As with the sleeves, once sewn, turn them inside out so that you have cleaned, polished edges. Next you’re going to take your sheer rectangle you cut earlier and hem it on all four sides.
Right below one of the long, horizontal hems, sew a straight line across using the widest stitch setting you can, as shown above.
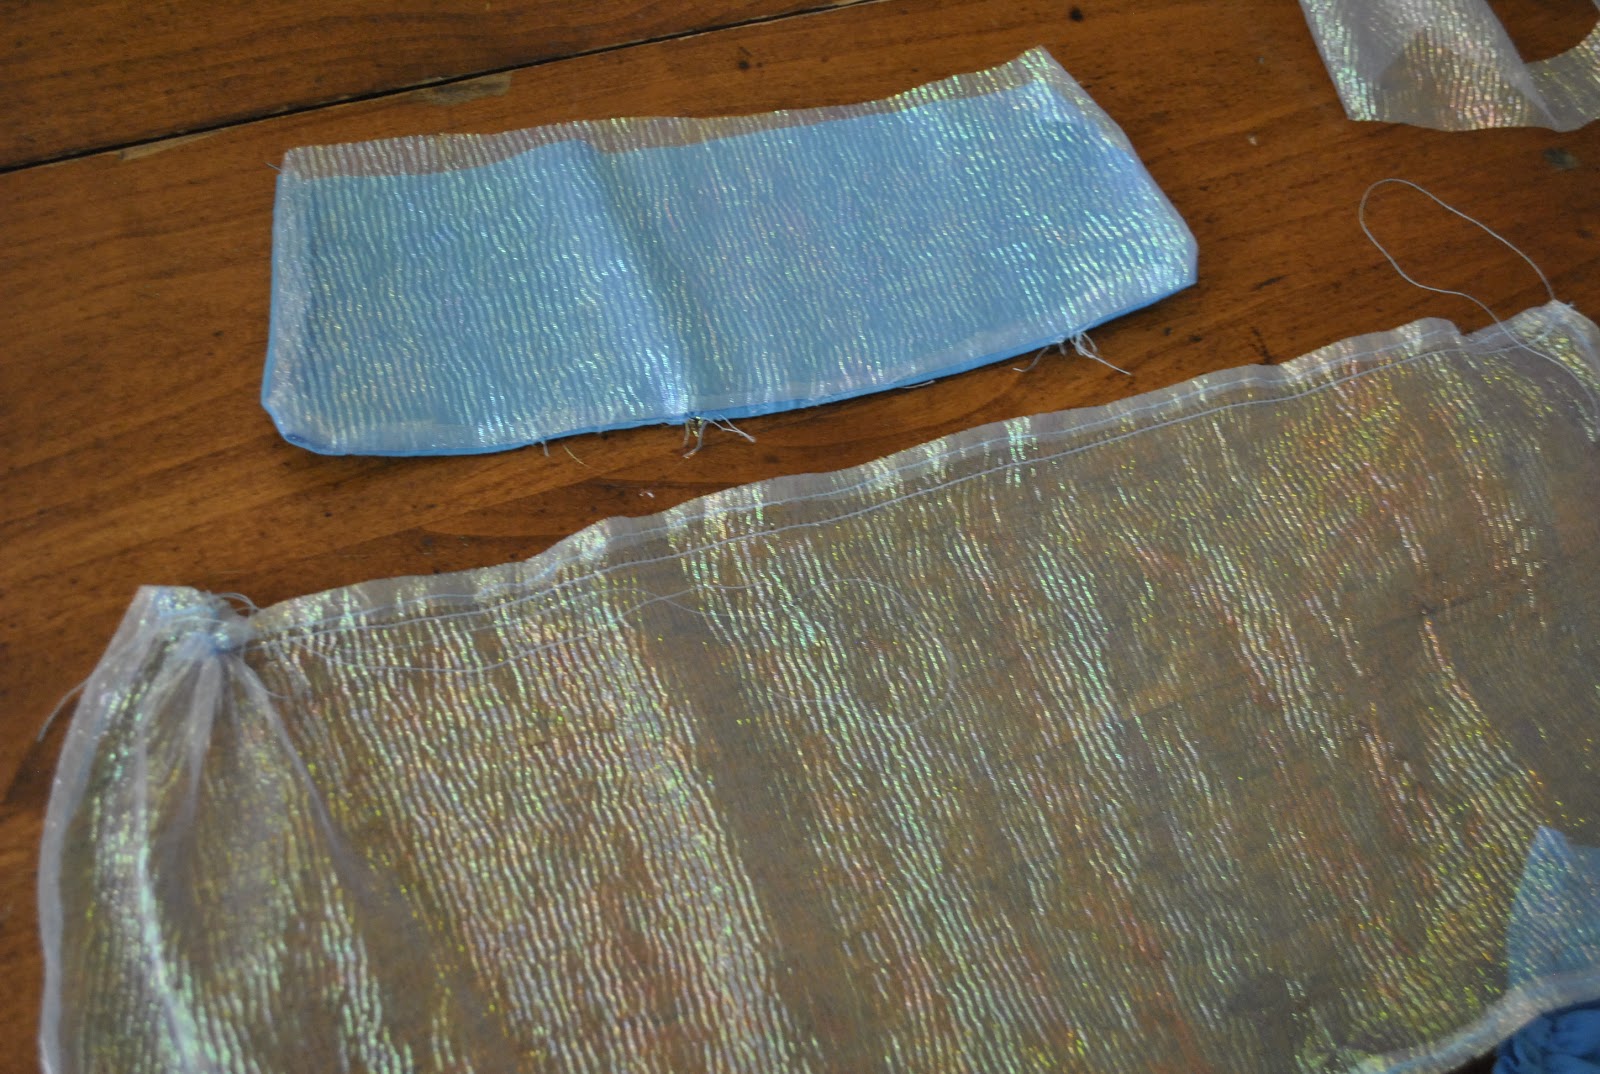
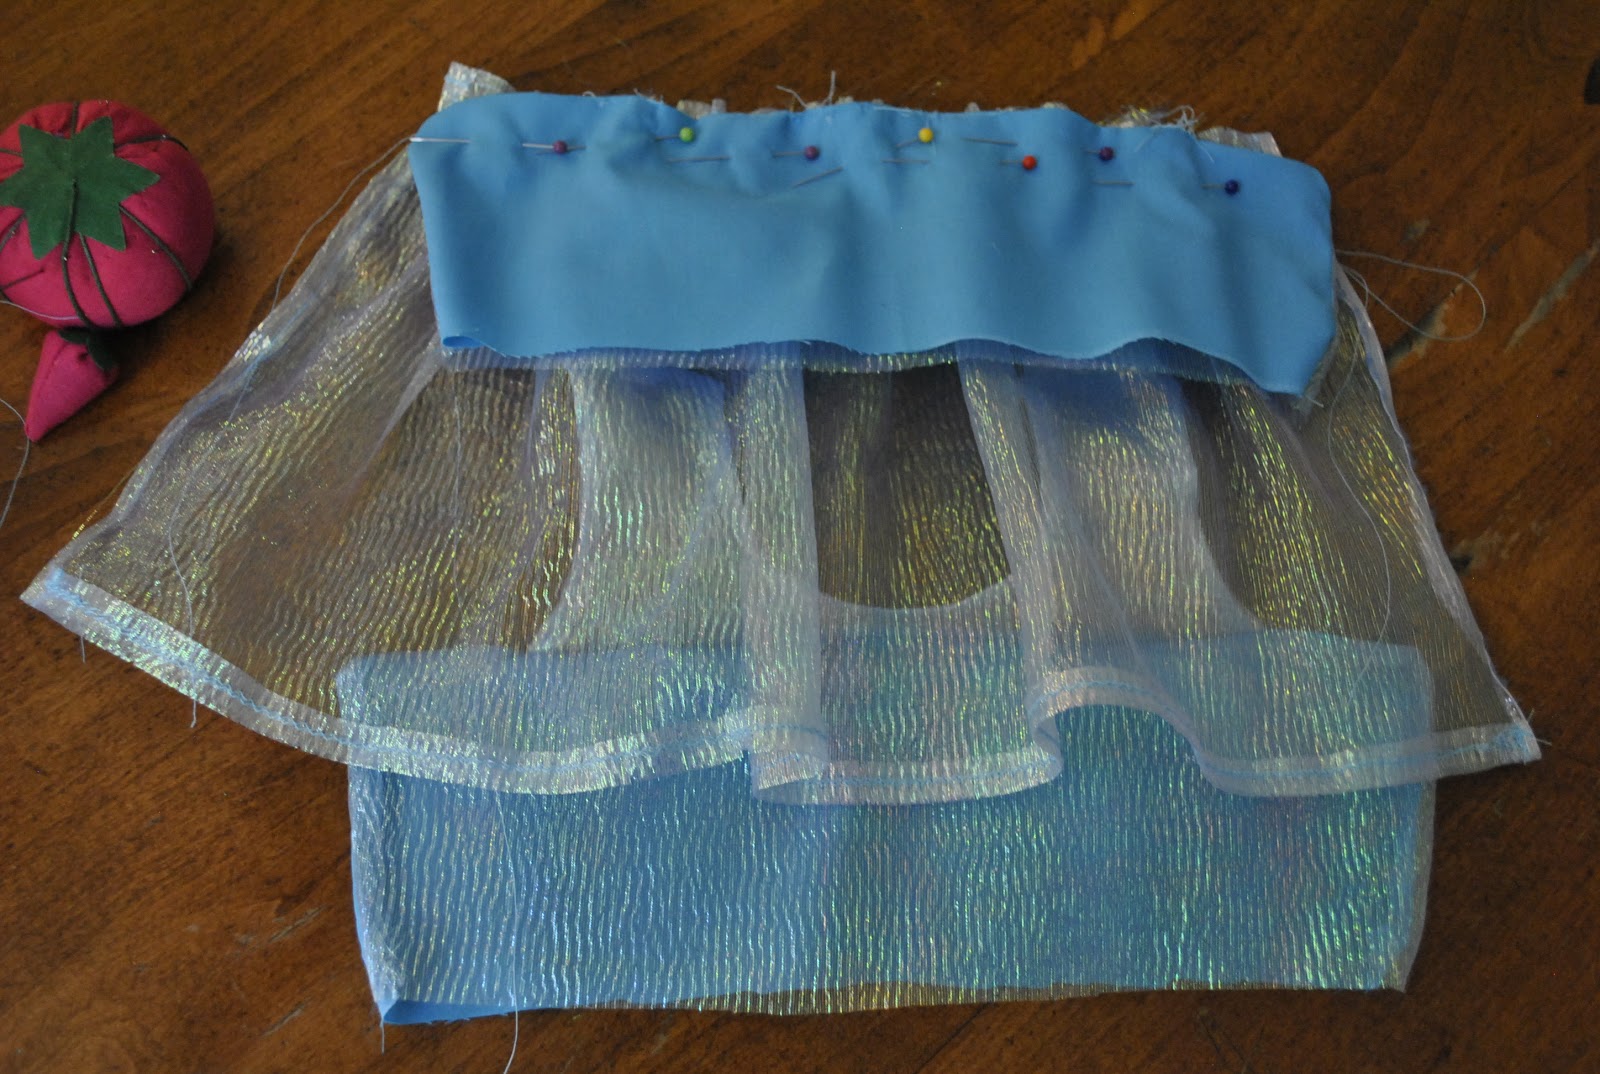
Lay the sheer rectangle with the side that you just added the wide-set stitch to on top, with the finished side of the bodice facing this same edge. You are then going to ruche the sheer rectangle, which is your cape, so that is becomes the same length across as the bodice. To ruche the fabric, hold onto of the threads on the side firmly but gently. Pull the fabric in the opposite direction of that string until you have matching lengths. Move the fabric back and forth as needed until your ruching looks about even:
Set aside these two pieces for now.
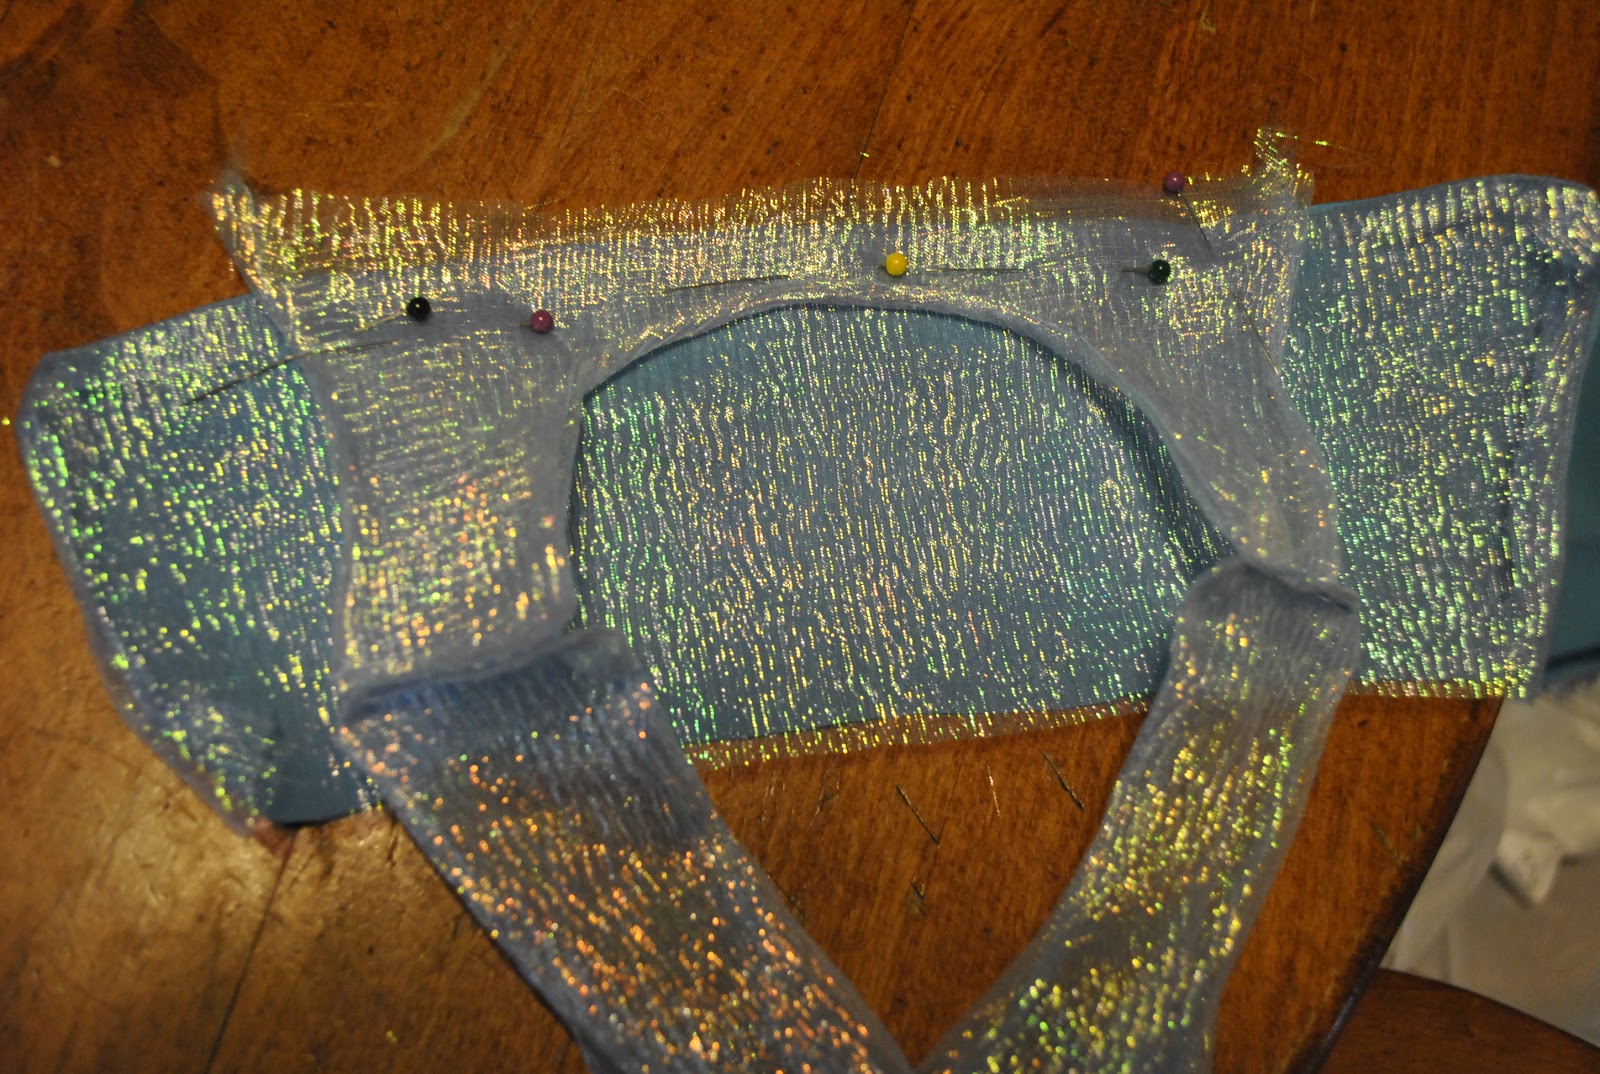
Lay the sleeves spread out on top of the bodice (unclean side of the sleeves facing up). Now go ahead and pin the unfinished side of the sleeves to the finished side of the bodice, leaving a little part of the sheer sleeves sticking up a little bit from the bodice, as pictured.
It should look like this once sewn. Go ahead and keep the bodice/sleeves laying on a table like this, with the clean sides facing up as pictured above.
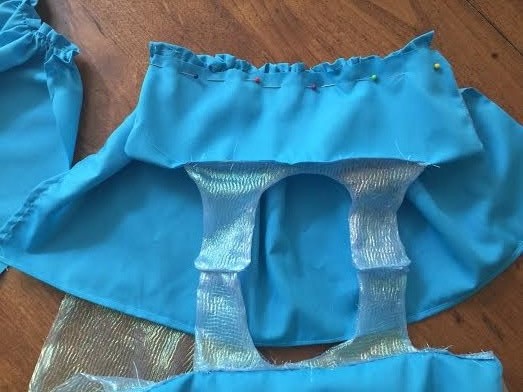
To the piece you have laying in front of you, place the cape, hemmed sides facing up on top of your unfinished sleeves. lay the bodice, blue cotton side up with the horizontal unsewn end facing downward, as pictured. Pin them together, and then sew them up!
We are now ready to work with our two blue cotton rectangles.
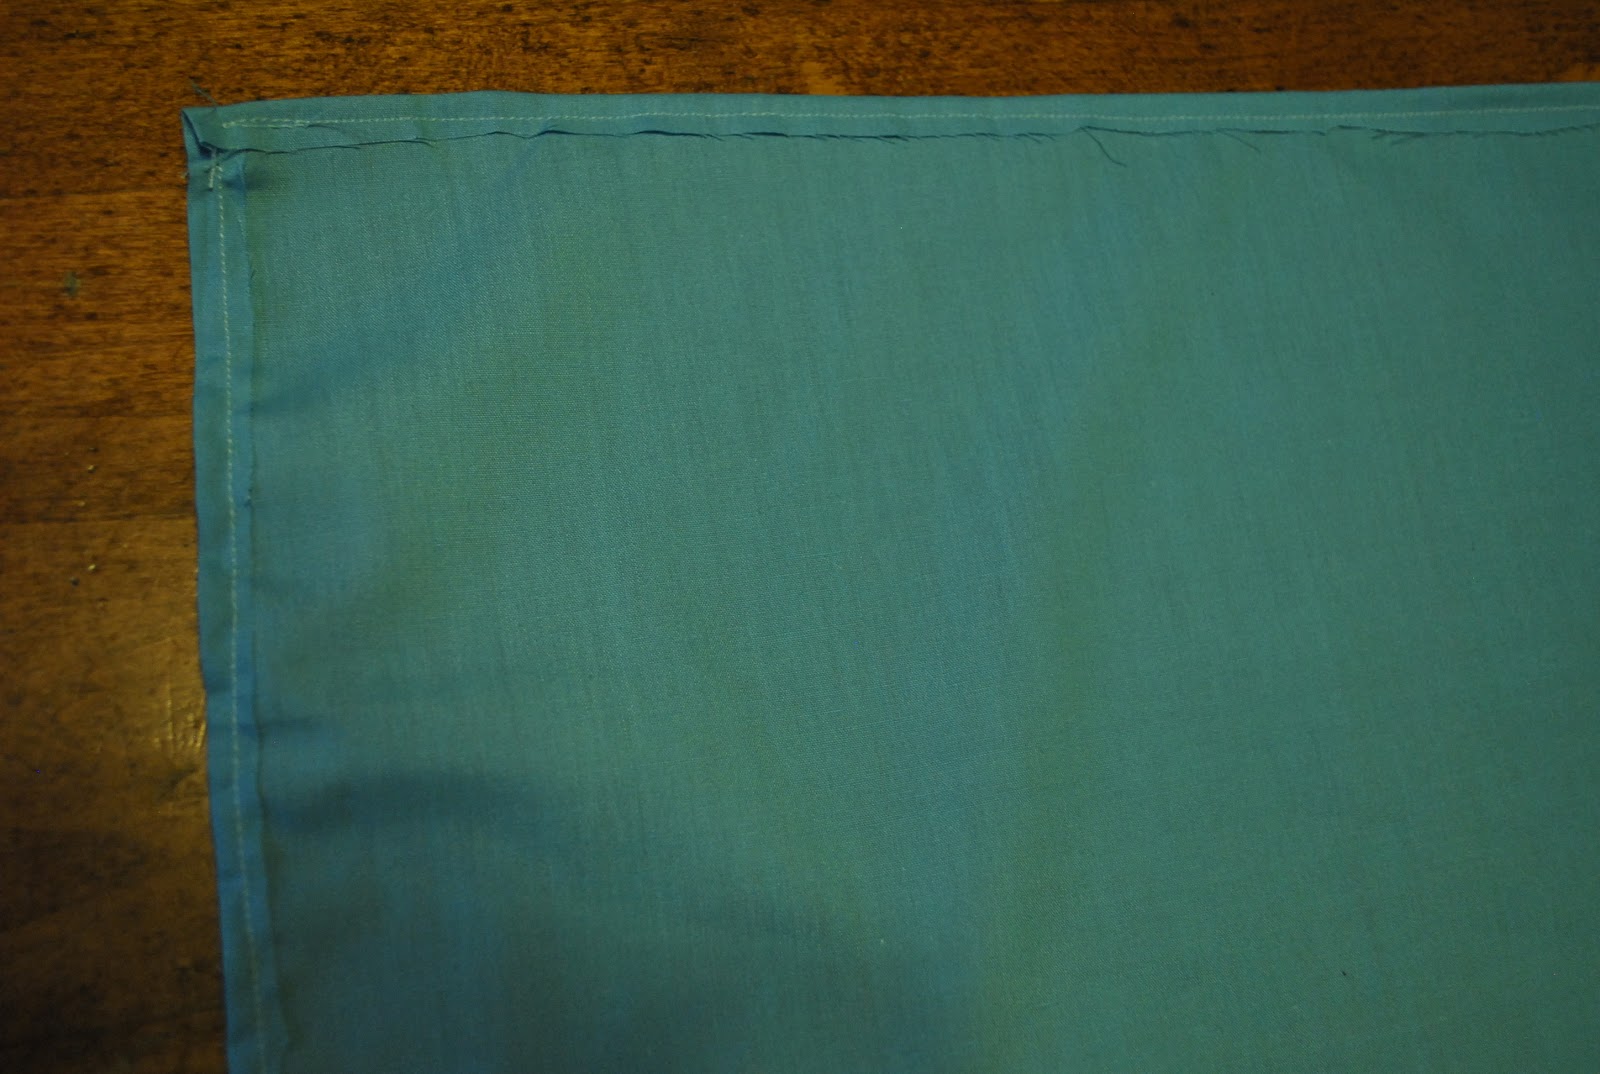
Go ahead and hem each side of both rectangles.
On one of the long horizontal sides of each rectangle, fold over the fabric again to double hem it. This will be the bottom of your skirt.

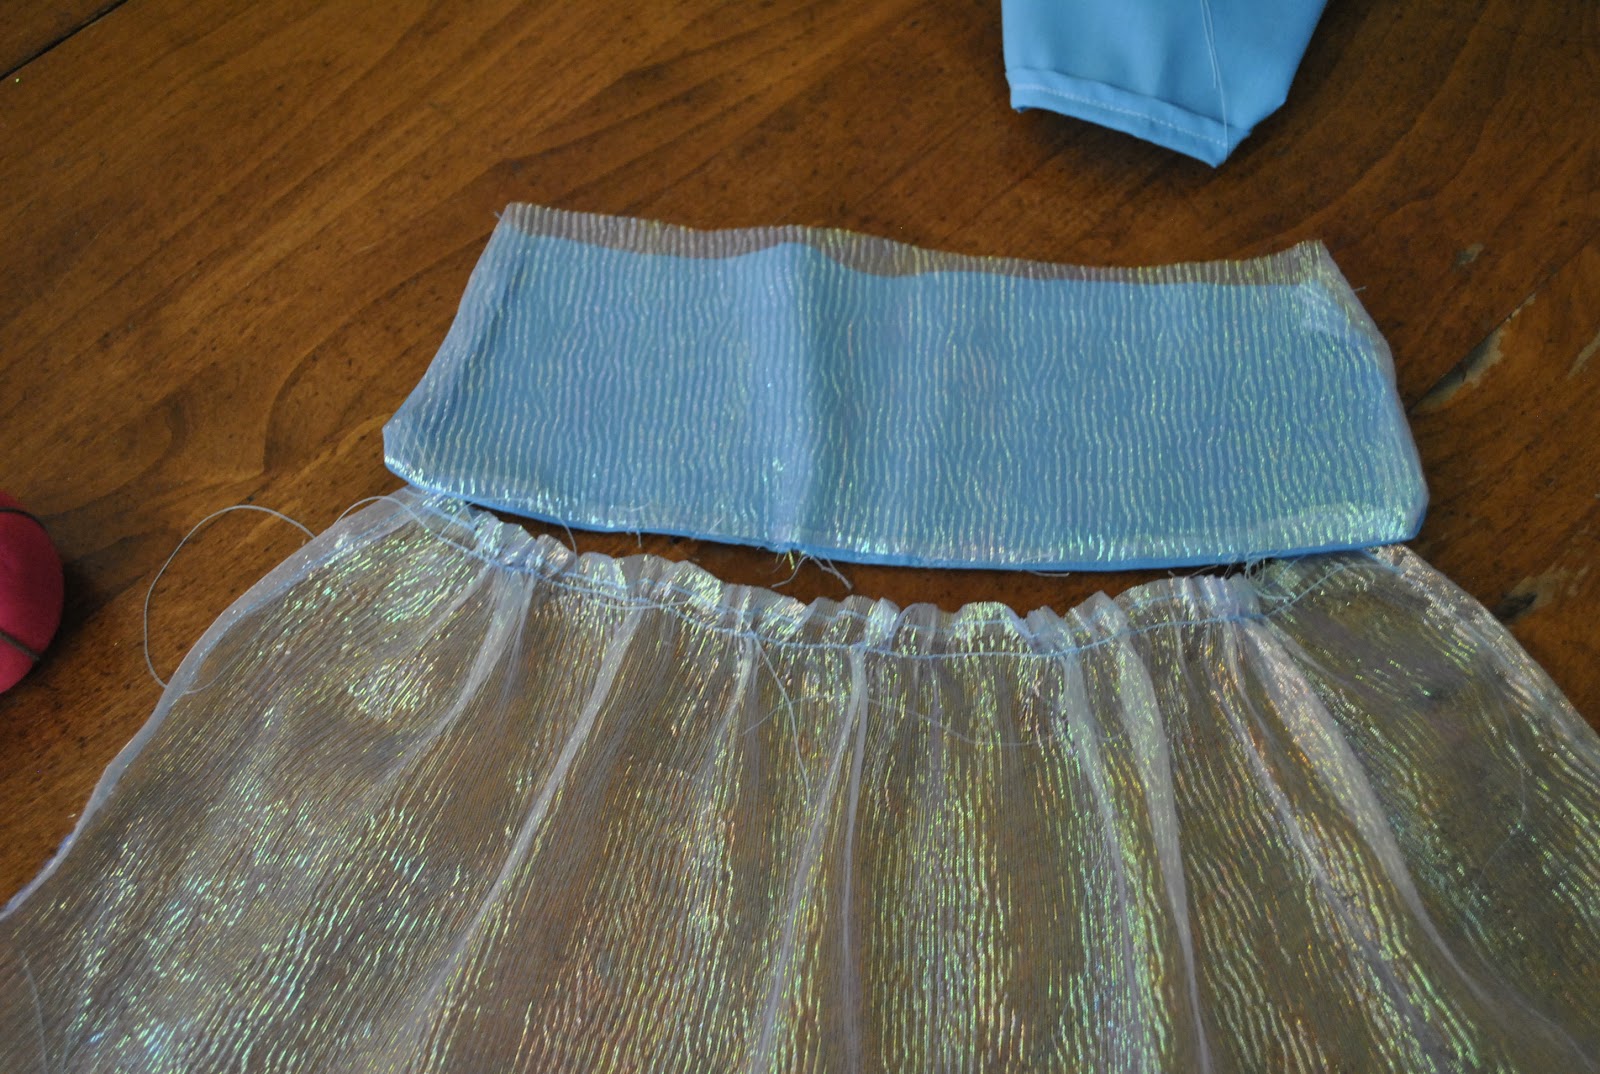
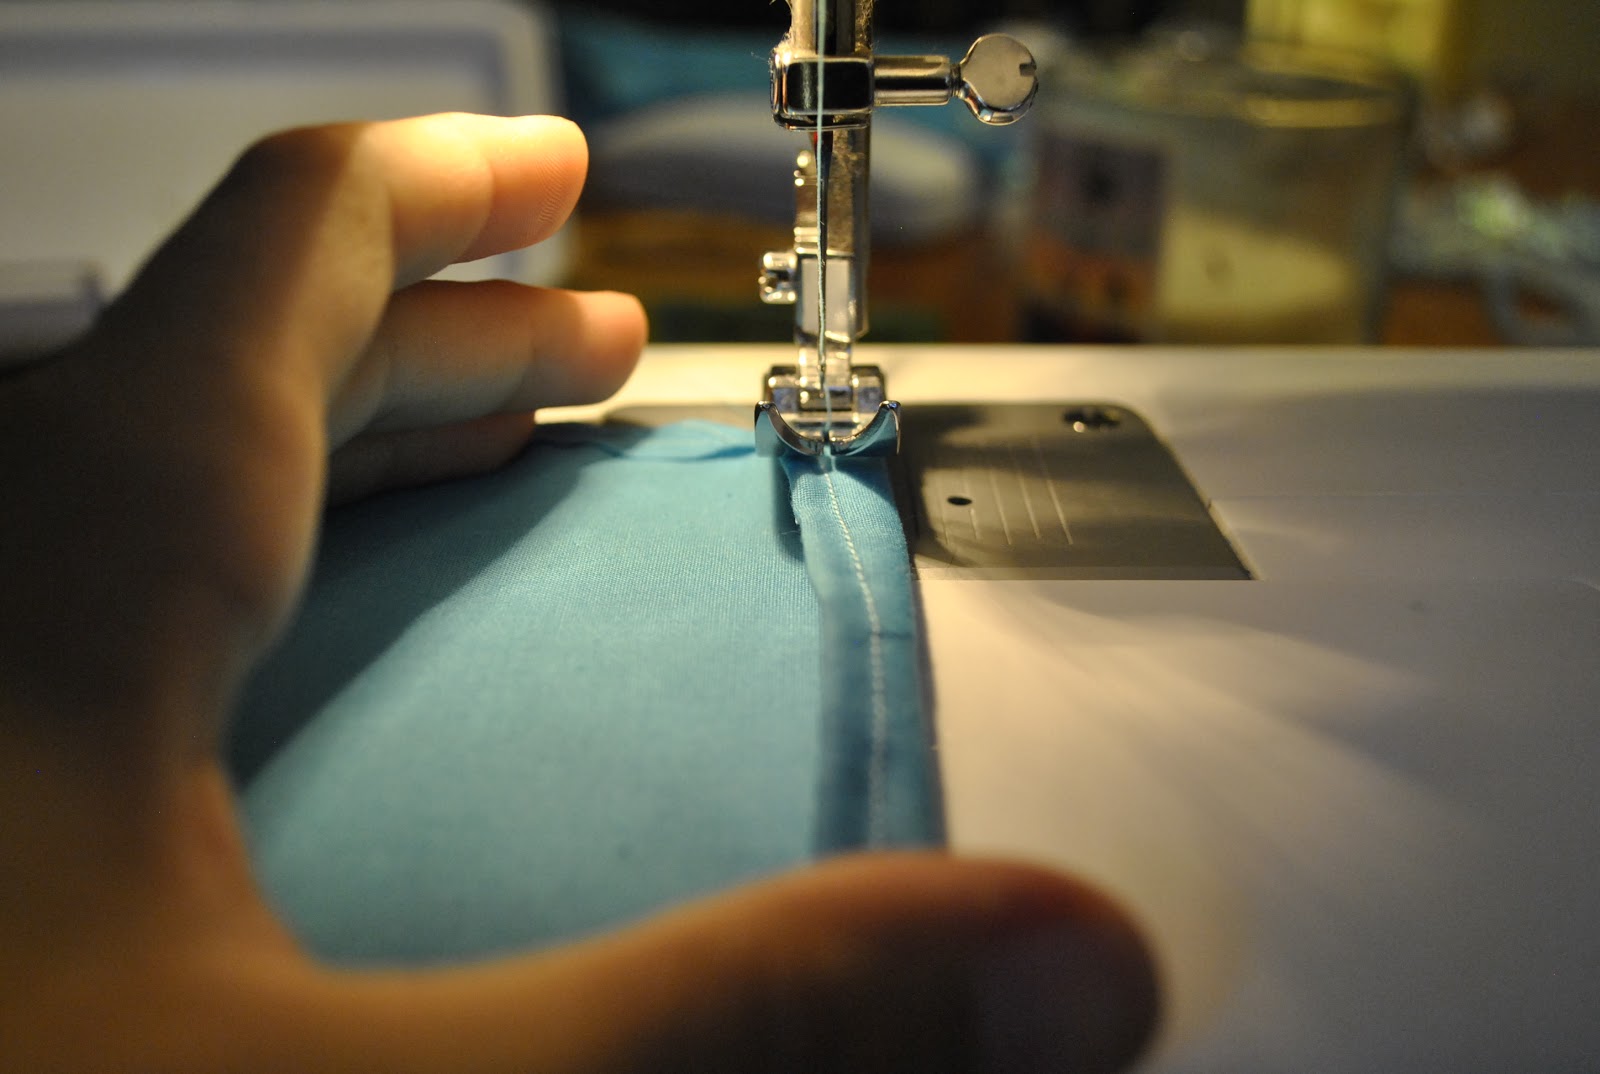
On the long, horizontal side of your skirt that is not double hemmed, stitch a straight line, using the widest stitch-length setting you can use across the top, just below the hemline. This is the same method we used for the cape. Do this on both rectangle pieces. Make sure there is a long piece of extra string on both ends when you stitch this part.
Just as you did with the cape, yay out one of your blue rectangles below the unsewn side of your bodice, making sure the double-hemmed side is facing down and the side where you hemmed once and put one wide straight line is laying on top closest to the bodice.
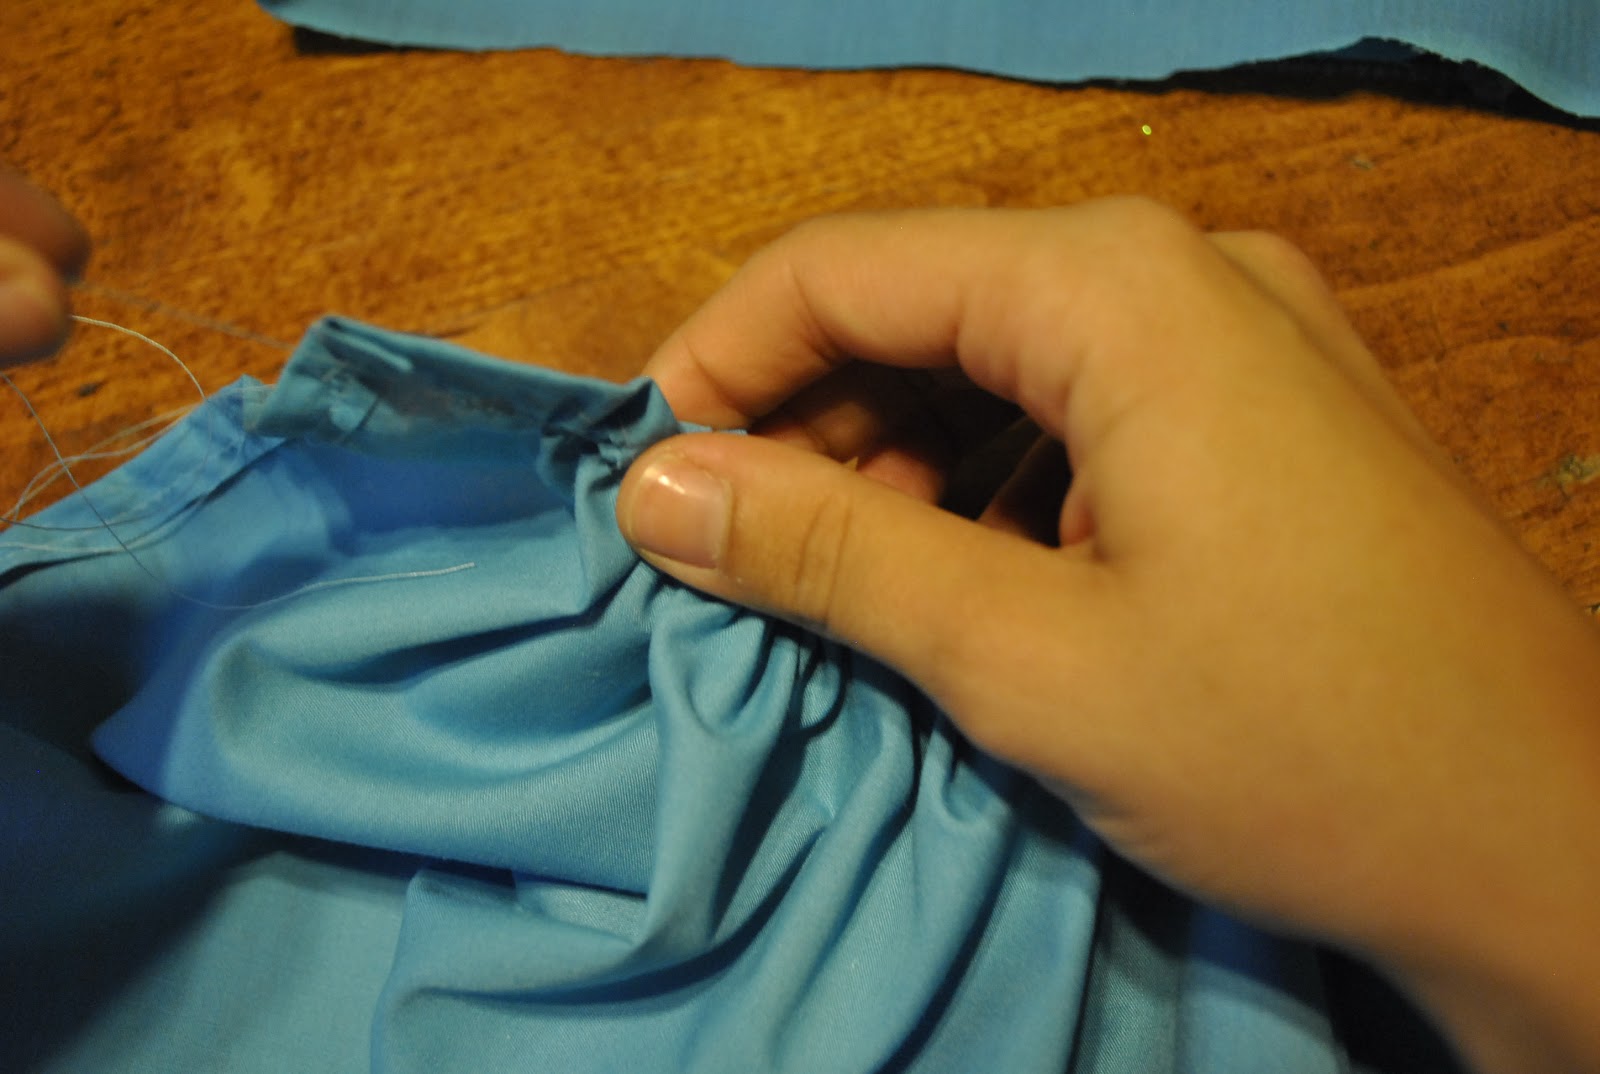
You are going to ruche the skirt so that it is the same length across as the bodice. To do this, hold on to one of the long strings on one end of the skirt firmly but gently, and pull the fabric away from the string. Do this until you have a matching skirt and bodice length, and move the fabric back and forth as needed so that the ruching looks even, just as before. You will do the ruching with both of your blue rectangles.
Now that your skirt is the same length as the bodice, we can sew them together!
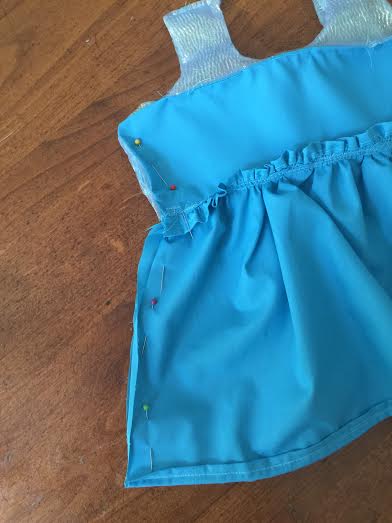
Lay the skirt down, the hemmed sides facing down. Then lay the the bodice on top, as pictured, and pin together. Make sure there’s about an inch of the skirt sticking up above the bodice. Repeat this on the other side.
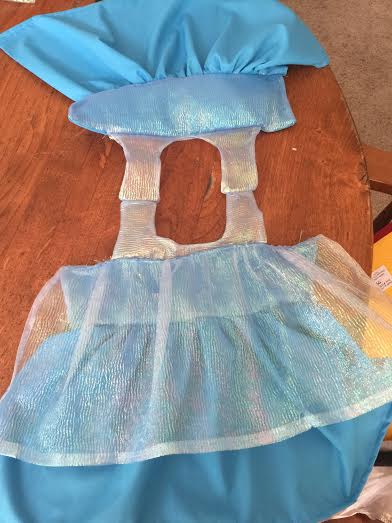
Once both sides of the skirt are shown, your dress should look like this so far.
Now we will sew the sides of the dress together. To do this, have the dress so that it is inside out and pin the sides together (make sure not to pin the cape while you’re pinning the sides together. Once pinned, you can sew up both the right and left sides of the dress.)
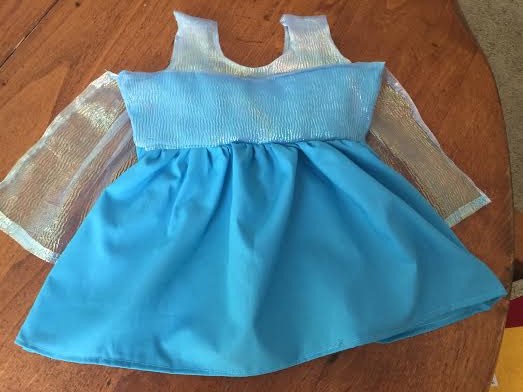
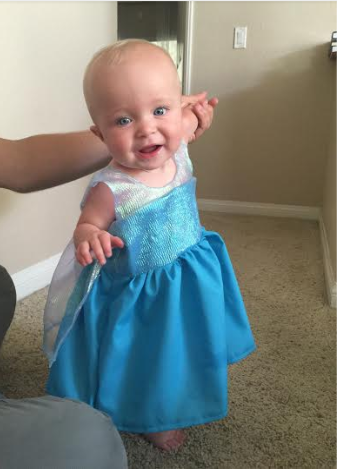
Once sewn, turn the dress rightside out. And you are all done! Time to have a fashion show with your little!
I personally chose to make the dress pattern using one of her dresses that’s slightly big on her since I wanted her to be able to wear it and fit in October. And make sure as mentioned earlier you make the collar low and wide so that you can pull it over their head comfortably. Have fun dressing up your little princess!