Save Your Skin And Your Money: 5 Tips For Microneedling
Taking care of your skin is crucial, not only for its appearance but also for maintaining its health.
Of course, as people should know by now, there are so many obstacles you must overcome to achieve this. External factors like pollutants, bacteria, harmful UV rays, and even internal ones like genetics can make your skin prone to issues.
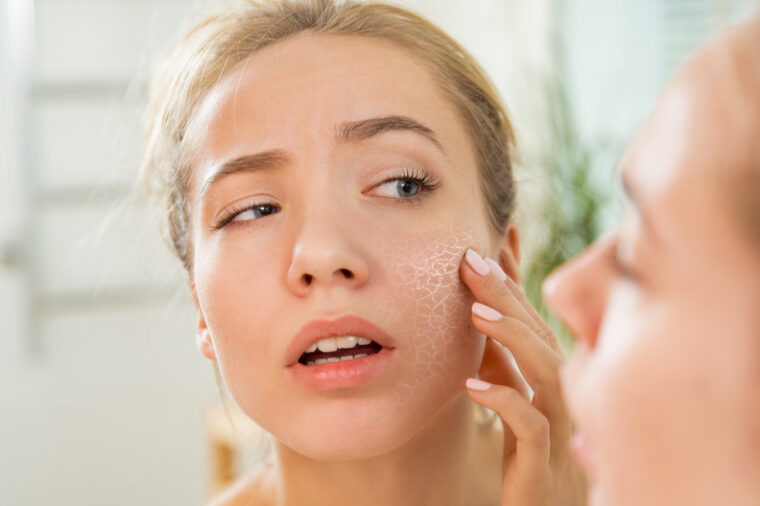
Acne scars, fine lines, wrinkles, and uneven skin tone are some of the most frustrating concerns many face, negatively impacting their confidence and well-being. It’s only right to look for effective and affordable solutions to address them.
The thing is that pursuing flawless skin comes with a hefty price tag nowadays. The costs of professional treatments and high-end skincare products can quickly add up, making it harder to find sustainable skincare aid.
Fortunately, some cost-effective solutions are within your reach. One of these is microneedling, a popular skincare treatment you can perform at home. Learn more here and see what makes it a budget-saver and an effective treatment for you.
The Science Behind Microneedling
Microneedling, or collagen induction therapy, is a minimally invasive procedure that involves puncturing the skin with tiny needles to stimulate collagen production. This process helps improve its appearance, directly tackling acne scars, fine lines, wrinkles, and uneven skin tone.
This procedure works best for those with mild to moderate skin issues. Consequently, it may not be the proper answer to severe scarring or deep wrinkles. Like many skincare solutions, achieving noticeable results may take multiple sessions.
How To Do Microneedling At Home
While working with pros is your best bet, you can perform this treatment on yourself at home. The specifics vary for everyone, but the typical process goes like this:
- Choosing The Right Microneedling Tool
Picking a microneedling tool that matches your skin type and concerns is essential. It helps you achieve precise results while minimizing risks like infection.
Here are some factors to consider:
- Needle material: High-quality microneedling tools typically use medical-grade stainless steel or titanium needles. Both are safe and effective. But stainless steel is sharp and durable, while titanium is lightweight and less likely to bend.
- Needle count: How many needles does the device have? More needles mean better results and a higher risk of irritation if misused. Consider 540 needles for derma rollers or 12 for derma pens for home use.
- Device type: Speaking of devices, there are two main types. Derma rollers are handheld tools that use a rolling head to apply the needles. Meanwhile, derma pens are electronic devices that use vibrating needle heads. They offer more control and precision but are generally more expensive.
You may consult a specialist to learn which tool is right for you.
2. Following Proper Microneedling Techniques
This goes without saying. You will be applying tiny lacerations to your skin, after all.
Start by cleaning your skin and hands to avoid infection. You may also apply numbing cream on the surfaces you will work on to reduce discomfort.
When using a derma roller, gently roll it over your skin in different directions (vertically, horizontally, and diagonally) with light pressure. Be careful not to press too hard or overdo it; otherwise, you risk causing irritation or damage.
3. Establishing A Consistent Routine
A regular treatment schedule allows time for healing between sessions, which is crucial for it to work. The frequency of treatments should depend on the tools you’re using and your skin’s needs.
For instance, using a 0.25 mm derma roller for better product absorption might mean microneedling once or twice weekly. On the other hand, a 0.5 mm needle targeting acne scars or fine lines could require treatment every four to six weeks.
Monitor your skin’s response and adjust your routine accordingly. If you notice any changes or concerns, don’t hesitate to modify your microneedling schedule to suit your skin’s needs better. Default on your dermatologist’s advice for anything worse.
4. Following Post-Treatment Care Protocols
Aftercare is vital for ensuring healing and preventing complications. After each session, your skin might be sensitive and prone to irritation or infection. So, it’s essential to take special care of it.
Avoid harsh skincare products for a few days after microneedling, as they can cause more irritation. Instead, choose gentle, hydrating products that help skin healing and barrier repair. Also, remember to use a broad-spectrum sunscreen daily to protect your skin from the sun.3
5. Being Patient And Realistic With Your Expectations
Although microneedling can offer impressive results, it’s vital to be patient and manage your expectations. As mentioned earlier, you might need multiple sessions to achieve your desired results. Most importantly, improvements are gradual.
Suppose you are targeting acne scars or fine lines. In that case, you may start seeing improvements after three to six treatments. Optimal results might appear several months after your final session. Again, consistency is key.
Ready To Try It?
Working on a budget doesn’t have to mean missing out on the skincare you need. This cosmetic solution can help you achieve more radiant skin at your own pace. You just need patience, dedication, and close monitoring to achieve your desired results.
Above all, talk to your dermatologist to see if microneedling is for you.
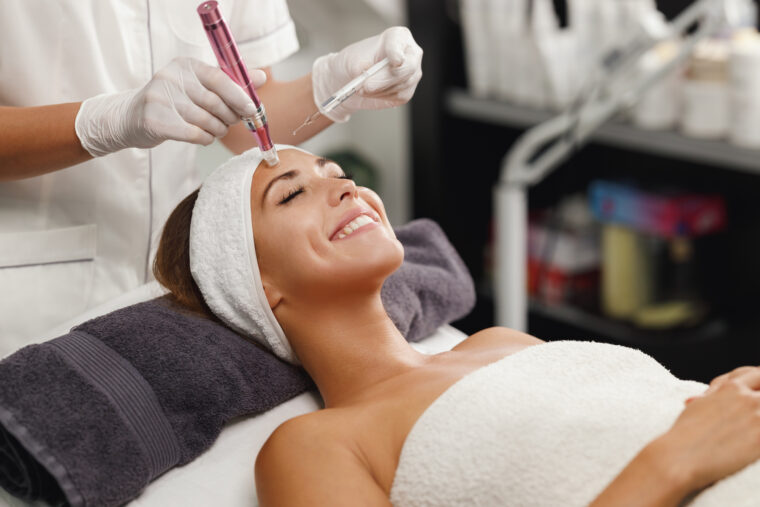
Shot of a beautiful young woman on a facial dermapen micro-needling treatment at the beauty salon.